


Why Build a Gaming PC in 2024?
The benefits of building a gaming PC in 2024 are numerous, based on the newest technological strides and changes happening with the gaming hardware market. Customization is, of course, the number one benefit of building a machine that can serve all your specific needs and preferences. With so many different choices in components at one’s disposal, it would be possible to assemble a gaming PC that would work to the best of its capacity for high-definition graphics, faster processing speeds, or even efficient cooling systems.
While building a gaming PC may seem expensive in its own right, doing so is actually really quite cheap compared to purchasing a pre-built system. When you build a custom gaming PC, you can distribute your money in the best possible way to get the most bang for your buck with every component hand-picked. You can also upgrade parts over time to keep your system at the top of its class in current gaming technology.
Gaming hardware in 2024 saw a number of trends and innovations that enhanced the gaming experience. Next-gen GPUs, offering improved ray-tracing capabilities and higher frame rates, are sure to offer breathtaking visuals and smoother gameplay. Adding to these, advanced CPUs have much greater core counts with faster clock speeds that guarantee seamless parallel execution and better performance overall. Moreover, SSD technology improves upon load times and enhances data transfer rates, which means the world in terms of gaming responsiveness.
Another strong reason to build a gaming PC in 2024 would be the satisfaction and fulfillment one derives from piecing your very own machine together. All this practical experience develops further understanding of the hardware and empowers the owner with confidence in troubleshooting and upgrading. Assembling a gaming PC can be gratifying. It gives pride—a tailor-made high-performance system to a given specification.
That’s it—technological advancement, options of customization, cost-effectiveness, and personal satisfaction with building a gaming PC in 2024 make the option very attractive to any gamer at any level. New hardware gear innovations foreshadow a better time for gaming and make this the best time one can start this journey.
Choosing the Right Components: What to Look For
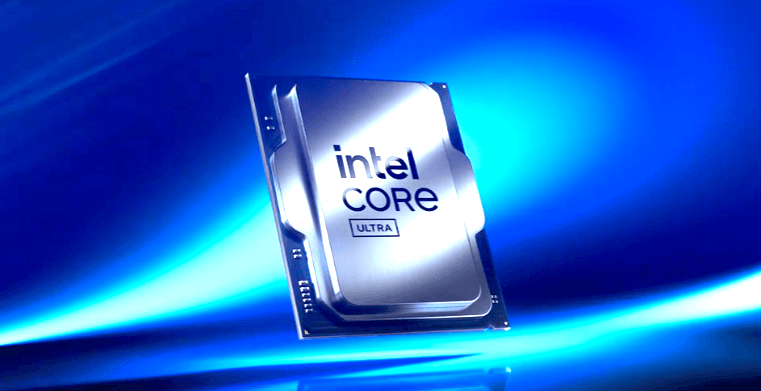
These components spell a radical difference in the building process of a high-performance gaming PC in 2024. Usually, the central processing unit is regarded as the brain of the system. Moving forward to 2024 and seeking multi-core processors that offer a high clock speed, AMD’s Ryzen 9 and Intel’s Core i9 stand out in high performance and efficiency for gamers alike.
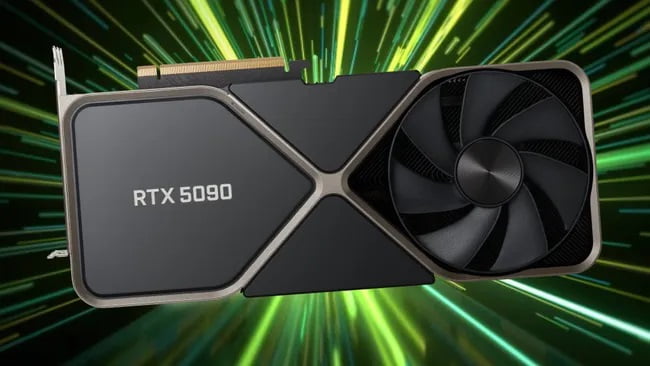
The GPU is needed to handle highly detailed graphics of today’s games. The most recent standards have been set by the NVIDIA RTX 4000 series and AMD’s Radeon RX 7000 series, which guarantee frame rates and improved graphics. At least 8GB of VRAM should be available for smooth gaming at higher resolutions.
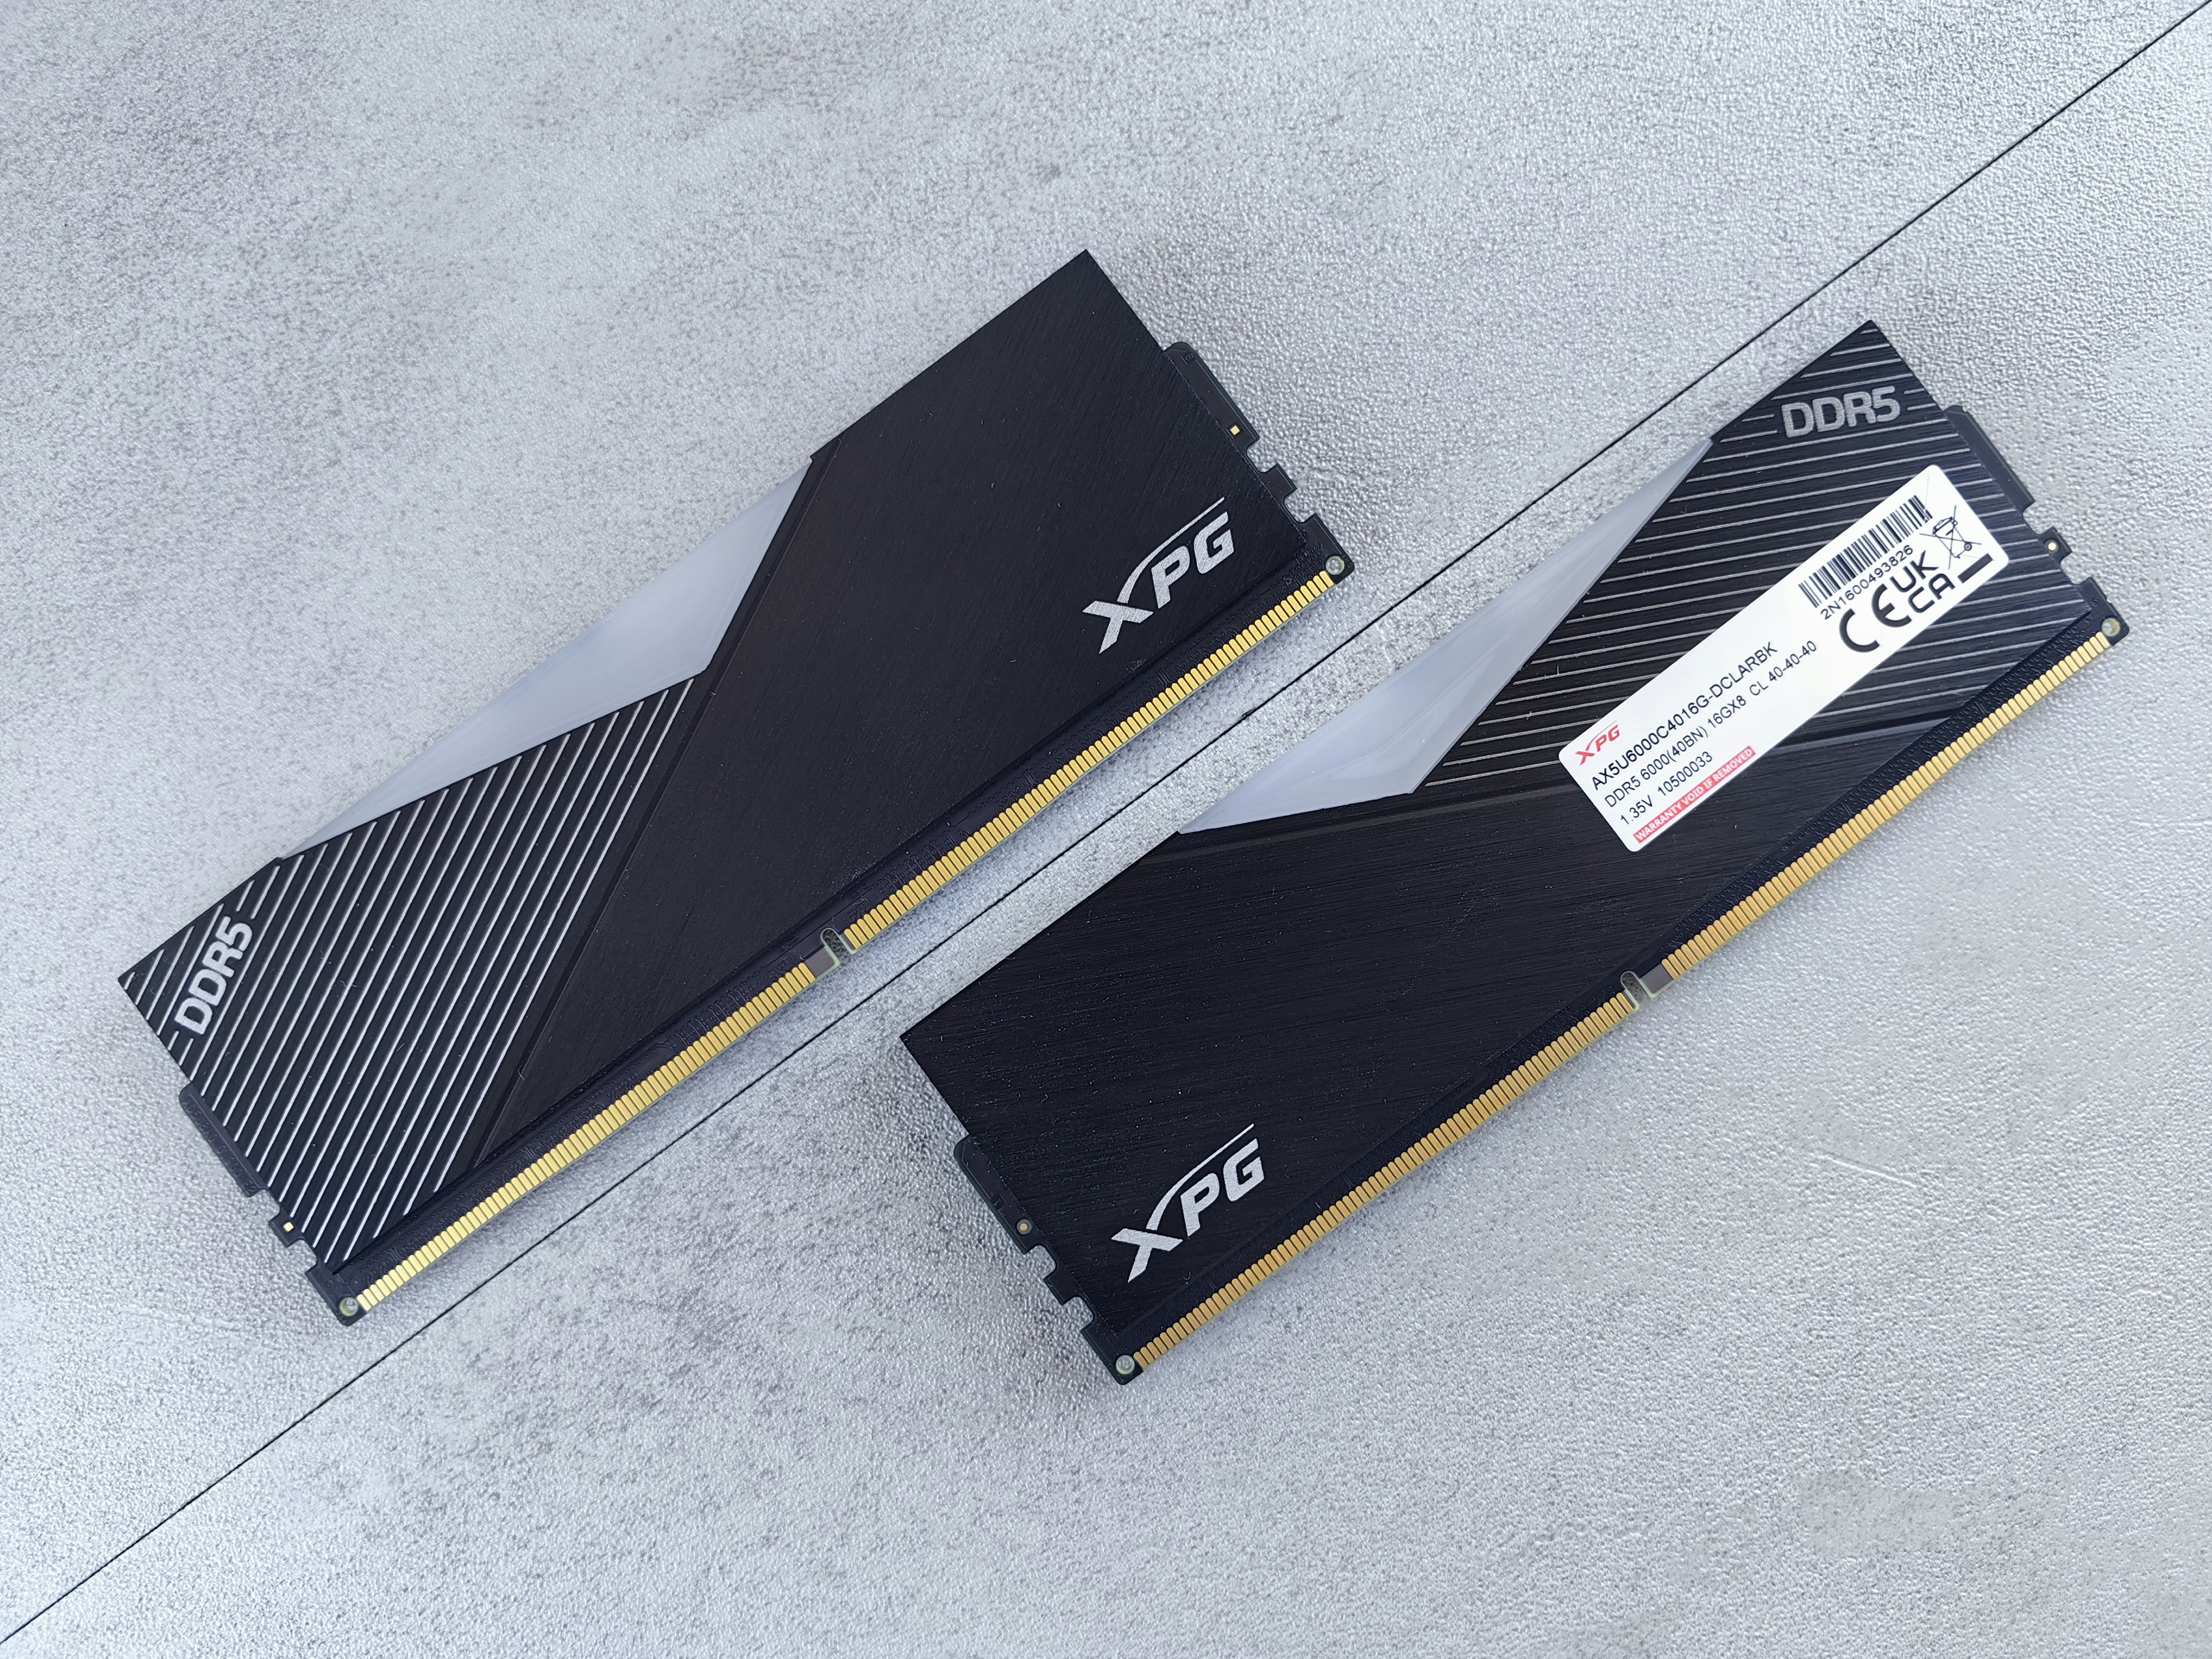
Another important component would be the RAM, which will help determine your system’s multitasking ability. For gaming, you will need 16GB of DDR5 RAM at a minimum, though 32GB is recommended for future-proofing. corsair and G.Skill are names known for reliability in performance and speed.
The motherboard holds together all of the components in your PC. Be sure to get one compatible with your CPU and RAM, then make sure to have a little future-proofing with PCIe 5.0 slots and multiple M.2 slots for SSDs. The ASUS ROG and MSI MAG series are highly recommended for their robust features and build quality.
Speed and capacity should find a middle way for storage. An NVMe SSD can offer fast loading times and, more importantly, completely lag-free gaming. At the top-of-the-line models for this would be the Samsung 980 Pro. Although 1TB SSD storage should be enough, it is best complemented by a larger HDD if extra storage space is needed.
A powerful enough power supply is needed for all the components, while at the same time providing some headroom in case there might be a wish to upgrade in the near future. For efficiency and reliability, the PSU should have an 80 PLUS Gold certification; some of the best options are Seasonic and Corsair.
Cooling, hence, becomes essential, and high-performance air coolers or liquid cooling solutions are a must to dissipate all this heat. In this regard, Noctua and NZXT have been the pioneers. Last but not least, a case should be chosen that provides good airflow while giving enough space to hold your components. Fractal Design and NZXT cases offer good build quality and looks.
Keep in mind your budget and what you can upgrade later on. Upfront quality hardware will help you have a longer lifetime for your gaming PC, making it competitive for much longer.
Where to Buy Your Components: Best Retailers and Online Stores
2024, however, sports the most diversified landscape of purchasing PC components with innumerable reliable sources online and offline. Yes, the right retailer does indeed make a great deal of difference in your overall gaming PC build experience, right from the pricing and customer service to return policies and authenticity of the products.
Online stores like Amazon and Newegg still stay at the top for sourcing gaming hardware. Amazon will often have a large selection with competitive pricing, generally including customer reviews that may help you make final decisions. Also, the return policy at Amazon isn’t usually a hassle, so buyers have peace of mind. Since Newegg specializes in electronics, it will often include very detailed product descriptions, along with extensive user reviews, and often technical insight into components. It’s also worth mentioning that Newegg actually has one of the better customer services, having a reputation for being knowledgeable about PC hardware, so it’s recommended for enthusiasts.
Of course, more niche websites that specialize in gaming hardware are going to have deeper selections. Micro Center is primarily a physical store, but their online shopping experience is great, too, with very competitive pricing and good staff knowledge. Natively, one of the tremendous benefits of going to a store-based location, such as Micro Center, is the complete availability of components and an opportunity to actually talk to the experts in person. B&H Photo Video, known for its varieties of electronic products, also hosts an easy-to-navigate online platform, along with their amiable customer support.
Physical stores can benefit users by allowing them to view and feel the components before making a purchase. In most cases, you will get immediate satisfaction since you can leave the shop with your parts the same day. Additionally, shops offer one-on-one personalized customer service and technical support, which is very important for someone who is building for the first time or has some particular technical questions.
Consumers should be aware of seasonal sales events, like Black Friday, Cyber Monday, and back-to-school sales, for various products. Tools and browser add-ons are available to compare prices and can set price drop and discount alerts. Finally, to avoid counterfeiting, buy from reputable retailers, and inspect the packaging for signs of tampering or inconsistencies right at the point of sale.
In summary, you should shop online or in a physical store depending on your requirements of convenience, immediacy, and customer support. There is no reason not to use both options. Keep a lookout for good deals, and you will easily be able to get all the components for your high-performance gaming PC build.
Assembling Your Gaming PC: Step-by-Step Instructions
To build a high-performance gaming PC in 2024, you will need accuracy, tolerance, and knowledge of every component and its role. First and foremost, prepare a clean and well-lit workplace, having at hand all the equipment necessary, like a screwdriver set and an anti-static wristband against electrostatic discharge.
Step 1: Installing the CPU
First, prepare the motherboard. Place it on an anti-static mat, then carefully open the CPU socket by raising the retention arm. Align the CPU with the socket with respect to the notches; afterwards, gently place it in without applying pressure. Lower the retention arm to secure the CPU in place.
Step 2: Mounting the Motherboard
Next, install the motherboard inside the case. Be sure that the standoffs are properly seated in the case to align with the mounting holes on your motherboard. Carefully place the motherboard into the case and center it with the I/O shield. Screw the motherboard into place; be careful not to over-tighten.
Step 3: Placing the GPU
First, find the PCIe slot in your motherboard and remove the covers of the proper expansion slots in the case. Secondly, fit the GPU into the PCIe slot until it clicks, then screw it up. Also, link the required power cables from the PSU to the GPU.
Step 4: Installing RAM
Open the RAM slots by pushing the clips at either end down. Align the RAM sticks to the slots, making sure the notch matches. Press down firmly on the RAM sticks until the clips click back into place securing the RAM.
Step 5: Connecting Storage Devices
For storage devices, such as SSDs or HDDs, find the correct mounting points in the case. Secure the devices in place with screws or tool-less brackets. Take the SATA or NVMe cables from the storage devices and hook them up to the motherboard and PSU.
Step 6: Attaching the Power Supply
Now, place the PSU in the case’s indicated position; usually, this is at the top rear or bottom of the case. Secure it with screws. Connect the power cables to different components such as motherboard, CPU, GPU, storage devices, etc., using an organized cable management so that it doesn’t block the airflow.
Step 7: Setting Up Cooling Systems
Proper cooling of the system is essential for continued high performance. Follow the manufacturer’s instructions to set up a CPU cooler. You will also want to add case fans in optimal places to ensure good airflow—most commonly intake fans in the front and exhaust fans in the rear or top.
During the course of the assembly, every component should be treated with care and according to the recommendations of the manufacturer. Always test the connections before switching on your system. If it doesn’t boot—for example, if it doesn’t power up—check your connections again, then refer to steps on troubleshooting specific to that particular component.
Installing the Operating System and Essential Software
After assembling the high-performance gaming PC hardware, the critical process in this case will be installing an operating system. Keeping in mind the critical factors of gaming optimizations and enhanced security features in the new OS, one would recommend Windows 11 for 2024. First, prepare a bootable USB drive with Windows 11 installation media from Microsoft’s official website. Plug in the USB and boot from this device to start the installation. Now, follow the on-screen instructions to complete the installation process by selecting the appropriate settings and partitions required for your setup.
When Windows 11 is installed, the very first thing will be to update the system. Log in to make sure that you have downloaded and installed the latest Windows updates so your system stays secure and runs smoothly. Focus on the installation of the necessary drivers next. Begin with chipset drivers, which come directly from your motherboard manufacturer’s website. Then install graphics card drivers from NVIDIA or AMD based on the GPU installed within the system. Not forgetting, install peripheral drivers, be it a sound card or network adapter.
Now, once you have an operating system along with drivers, install the critical gaming software. Start with system monitoring tools like MSI Afterburner, which provides you with monitoring of your temperatures and usage on the GPU and CPU for checking performance. Performance optimization software, such as Razer Cortex, helps in terms of freeing up system resources and improves gaming performance. And last but not least, there are incredibly well-known game launchers like Steam, Epic Games Store, and GOG Galaxy, which you use to get and organize all your games.
First of all, in the process of setting up a new system, security should be the most important thing. Reliable antivirus programs will be installed, and Windows Defender will be allowed for real-time protection against malware. Configuration of the Windows Firewall is also recommended to block unauthorized access. Rest, enable system restore points and backups of your system periodically.
Finally, configure your system to achieve optimal gaming performance. These include setting up high performance in power options, turning off startup programs that are unnecessary, and changing graphics options either in the NVIDIA Control Panel or in AMD Radeon Settings. These steps give you a safe gaming PC and one that assures performance to the full.
Optimizing Performance: Overclocking and Cooling Solutions
Overclocking is the process of increasing the speed of a gaming PC beyond set or recommended values for the central processing unit. The process can bring out impressive gaming performance, but it has risks associated with it. Knowing the different advantages and disadvantages is important before one embarks on the process.
Primary Advantages: The most obvious benefit of overclocking would be in the increased performance, mostly relating to smoother gameplay and faster processing times. However, this also increases the power consumed by the system and raises temperature conditions. Poor management could result in reduced life for your parts.
First, to safely overclock the CPU and GPU, boot into the settings of the BIOS or UEFI firmware on the motherboard. Second, gradually raise the BCLK and multiplier for the CPU. You can check the system for stability through stress-testing applications like Prime95 or AIDA64. For the GPU, do it using a piece of overclocking software like MSI Afterburner and overwrite the core clock speed and memory clock speed incrementally. Always be at your guard with respect to temperatures and system stability during the process.
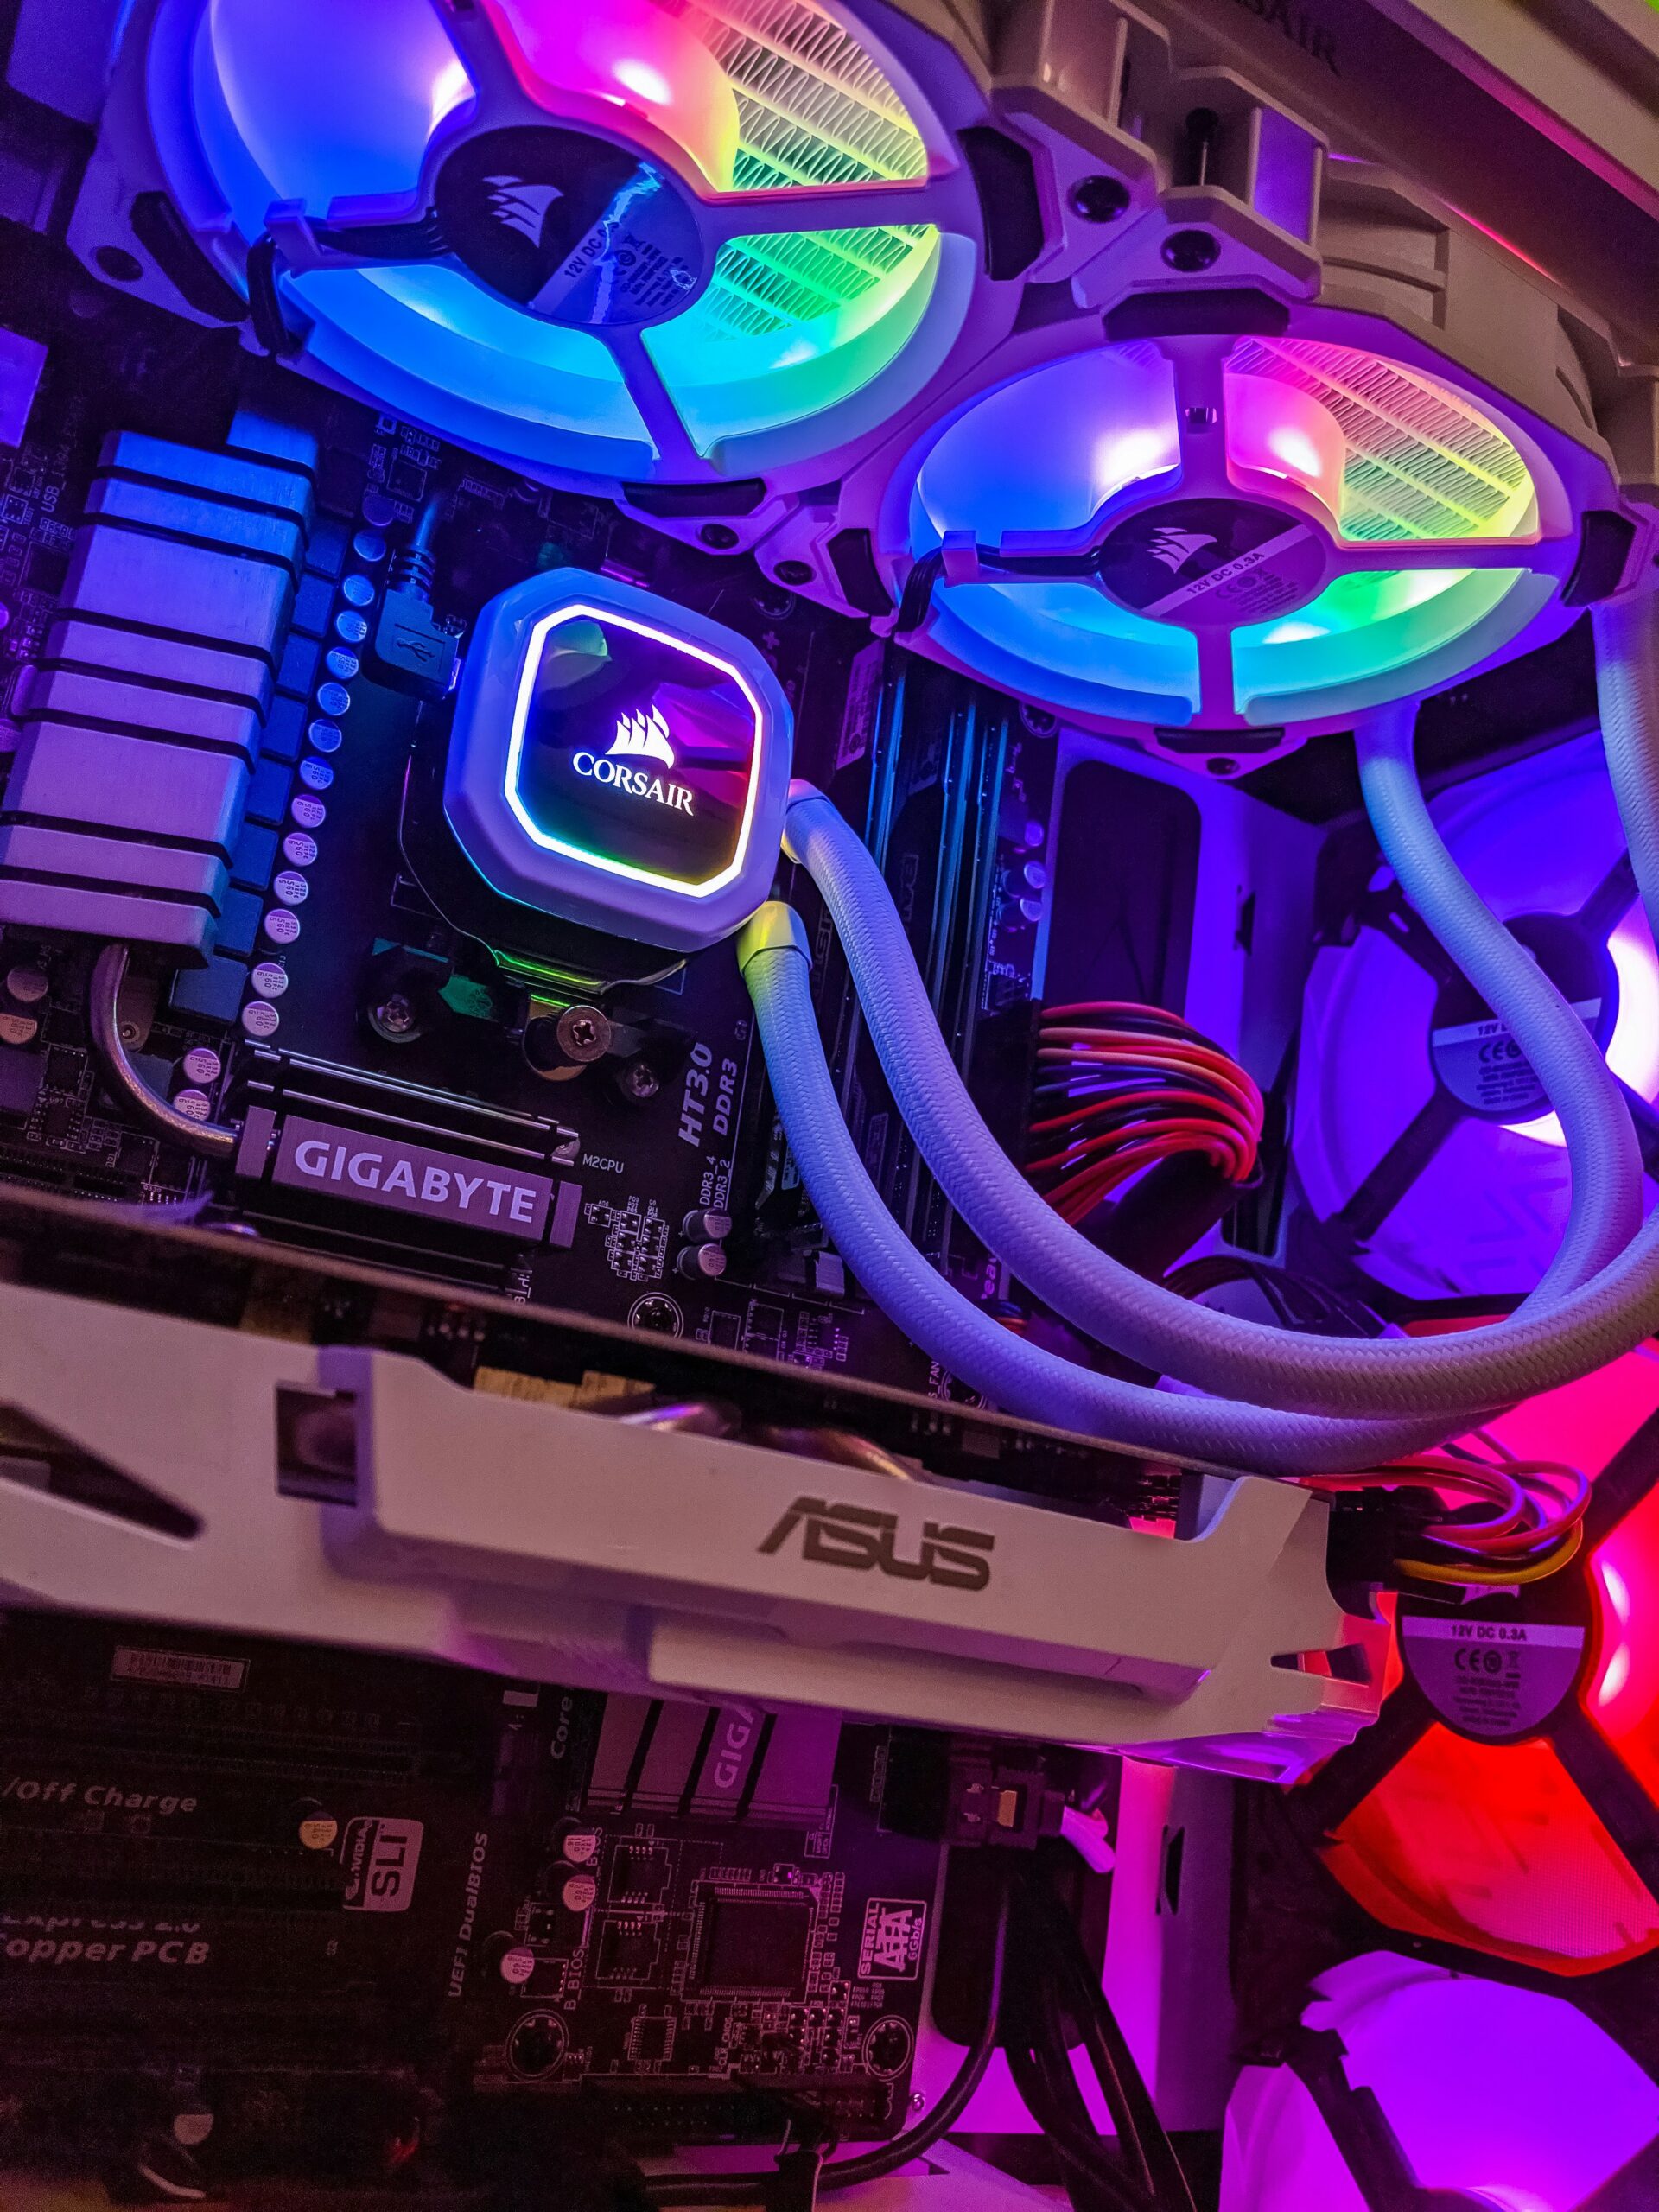
Effective cooling solutions are therefore required for keeping temperatures within optimal ranges for both performance and long-term stability. The most common method of cooling is air cooling, which involves the use of heatsinks and fans to dissipate heat. High-performance air coolers are capable of offering great cooling efficiency even for overclocked systems. For users who want even better thermal performance, however, liquid cooling solutions are the best choice. All-in-one liquid coolers, such as Corsair H100i, offer superior cooling capabilities with relatively easy installation.
Optimizing temperatures does not only pertain to choosing the correct cooling solution. Proper airflow through a case is equally as important. Ensure that both intake and outtake fans are properly installed to facilitate efficient air circulation. Proper cleaning of dust filters and correct application of thermal paste can also ensure better thermal performance.
In summary, overclocking can bring out the best in your gaming PC performance if paired with good cooling solutions. If you follow the steps above and keep temperatures optimal, then you can have that high-performance gaming while guaranteeing the system’s longevity and stability.
Testing and Benchmarking Your New Gaming PC
Once the high-performance gaming PC is built, the next most important thing to do is to run an extensive series of tests and benchmarks to ensure that everything is working correctly and to find out just how well your new rig can really perform.
First, conduct some stress tests on the stability and reliability of your hardware. Popular stress testing software such as Prime95, AIDA64, and FurMark can bring your central processing unit and graphics processing unit to their limits. These tools emulate highly loaded scenarios that might point out any weakness or overheating. But for memory testing, one all-in-one choice to make sure of the integrity of your RAM modules is MemTest86.
Once you have completed all the benchmarks, perform stress testing on your gaming computer. Benchmarking tools provide a little bit of quantitative information about your system’s performance. As far as gaming benchmarks go, there are two quite famous ones: 3DMark and Unigine Heaven. These applications put some load on your GPU with graphic rendering and give scores that you can compare against other systems. For other general performance, PCMark is excellent, matching everyday computing performance to gaming.
Interpret the results from the tests. Benchmark scores and stress test results will point out shortcomings, which can then be corrected. Very low scores that you achieve with your GPU are likely because of old drivers, which you can easily upgrade from the manufacturer’s site. If your system crashes during the stress tests, it could be overheating and will need better cooling or re-pasting the thermal paste on the CPU.
Further, watch out for hardware incompatibilities and bottlenecks. A bottleneck is basically a component significantly limiting the performance of others. For example, something as simple as pairing a really high-end GPU with an older CPU that throttles performance—this is a bottleneck. Tools like MSI Afterburner let you track real-time usage and note bottlenecks to act accordingly in making upgrade or adjustment decisions.
Testing and benchmarking your newly built gaming PC maximizes its performance and gives you a smooth, more immersive gaming experience. This meticulous path will let you be proactive about any problems, so that all of your invested hopes and dreams come through in the form of high-performance gaming.
This will help in keeping your gaming PC functional for a longer period with its excellent performance. System maintenance activities come in handy in keeping your system up and running. One of the most critical activities is cleaning dust from components. Dust accumulation may cause overheating that may render your hardware redundant within a very short time. It is, therefore, advised to clean the interior of your PC every three to six months using compressed air and a soft brush.
The other essential part of maintenance is updating drivers and software. Outdated drivers may make hardware malfunction and not work with new games. It is always a good idea to search for updates related to graphics cards, motherboards, and other important components. In most cases, manufacturers do provide easy-to-use software to update drivers, making this task quite easy.
System health monitoring is important to help indicate any emerging problem early enough. The temperature, CPU usage, and other performance metrics of the PC can be followed up through software tools. HWMonitor and similar programs, such as MSI Afterburner, offer real-time data and allow users to recognize anomalies that may require attention.
Timing and compatibility are everything when upgrading your gaming PC. The game industry is very dynamic, and keeping up with new requirements is not easy. Very often, a video card and/or CPU become the first candidates for replacement. Always keep an eye on the minimum and recommended specifications of new games and see if your current setup can run them. When upgrading, make sure that new components are compatible with the remaining ones to avoid conflicts.
Regular backups are crucial for both long-term performance and reliability. Copies of important files and game saves should be made regularly using an external drive or cloud storage solution. This will help not only against hardware failure but also make migrating to a new system painless in the future.
By following these upgrading and maintenance tips, you can be assured of your gaming computer being in top condition, hence able to serve you smoothly and ideally throughout many years of comfortable gameplay.