You want to know how to install Ubuntu Linux on a PC. Let’s explain how to do it.
The Ubuntu 22.04 operating system (code name: Jammy Jellyfish) is a free and open-source Linux distribution derived from the Debian Linux distribution. This distribution is known for its stable, secure, and user-friendly interface, making it one of the most popular Linux distributions in the world. The Ubuntu 22.04 operating system is designed for both personal computers and servers, offering a wide range of features and applications. Ubuntu 22.04 offers the following new features, improvements, and bug fixes compared to Ubuntu 20.04. If you already have Ubuntu 20.04, you can upgrade to Ubuntu 22.04. As usual, you will receive updates and support until 2027.
Minimum system requirements:
• HDD minimun: 30 GB
• RAM minumum: 2 GB (Recommended 4 GB)
• System Type: 64-bit x86 System
• Installation kit: Bootable DVD/USB/.iso
Download an Ubuntu Image
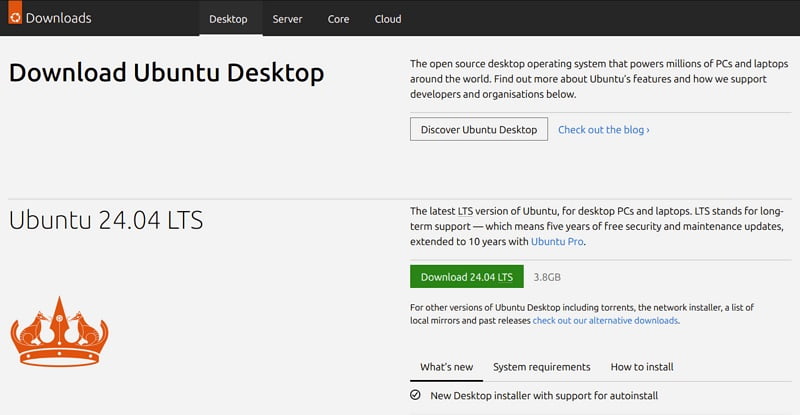
You can download an Ubuntu image here. Make sure to save it to a memorable location on your PC! For this tutorial, we will use the latest Ubuntu 24.04 LTS release (available on April 25th 2024) which uses the new Ubuntu Desktop installer that will be included in all future Ubuntu releases.
If you are installing an older version of Ubuntu, such as Ubuntu 22.04 LTS, you will find that the visual presentation of the installer is different, but the general flow should remain similar. We download the latest version.
Burn the ISO
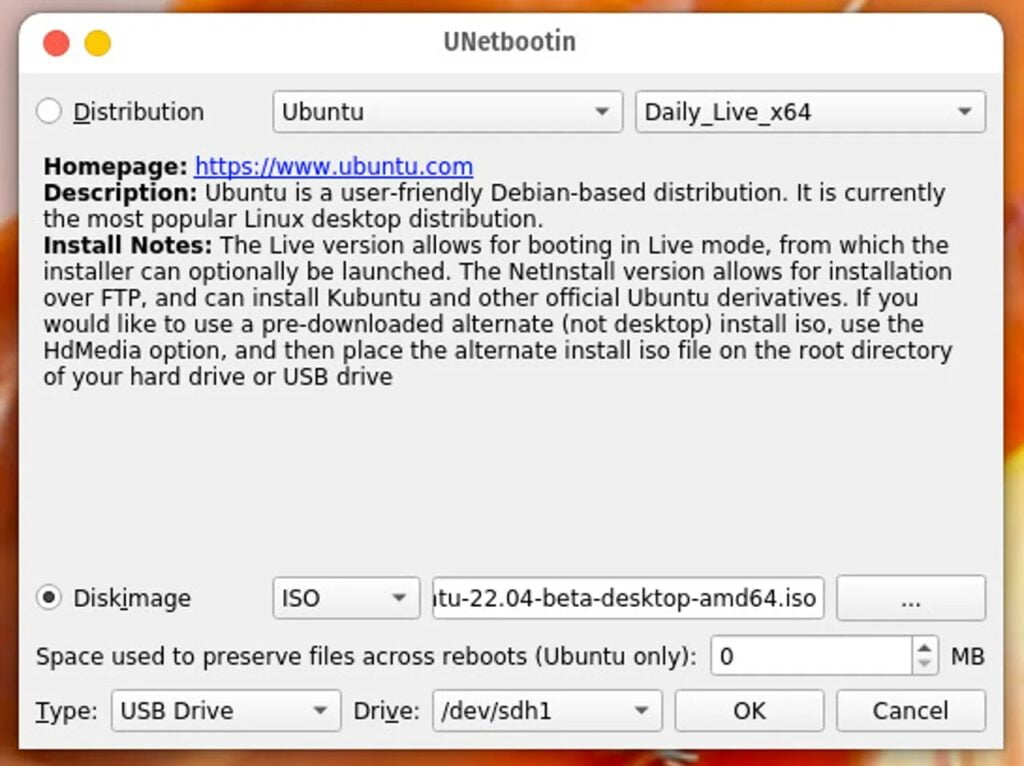
When we finish installing Unetbootin, insert your USB drive, open the application and select Diskimage, click on the three horizontal dots and find the ISO image you downloaded.
Boot from USB flash drive
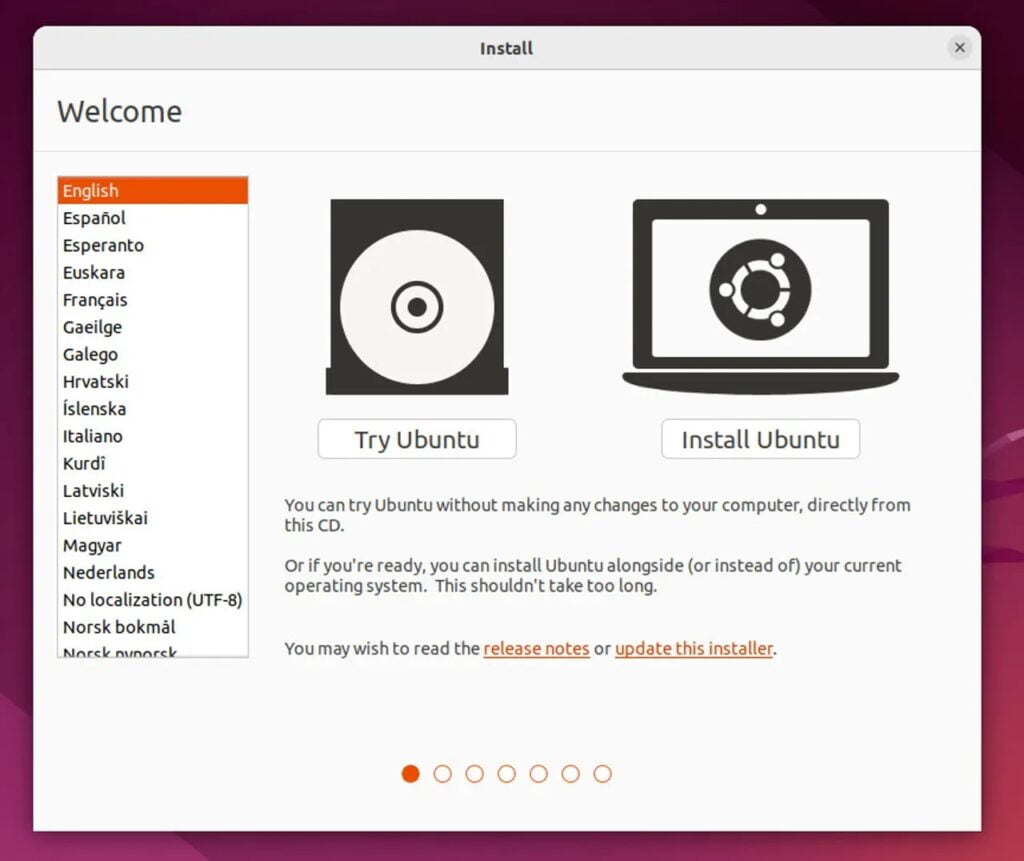
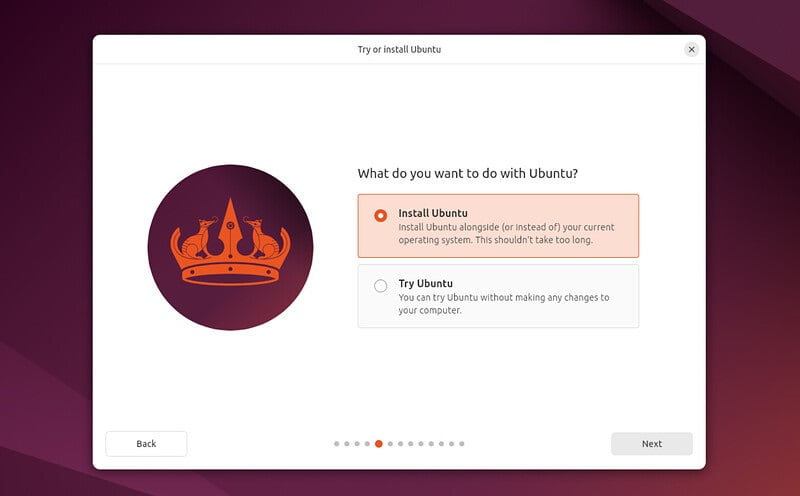
When Unetbootin completes, safely remove the USB device, insert it into the machine we will install the new Ubuntu installation and reboot. The first screen allows you to try Ubuntu or install it.
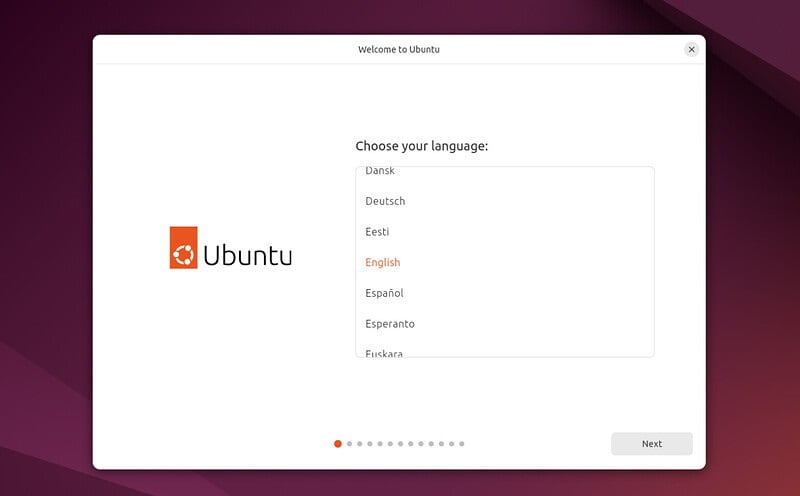
Once the installer has initialised you will be invited to choose your language
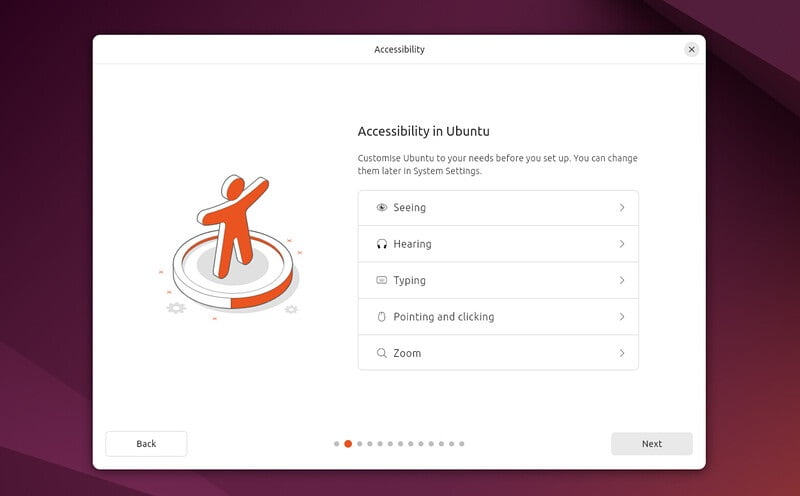
And then presented with the option to select any accessibility settings your require.
Your keyboard layout.

A connect to your network. This will allow Ubuntu to download updates and third party drivers (such as NVIDIA graphics drivers) during installation.

You are then offered the choice to try or install Ubuntu.
Installation Setup
You will be prompted to choose between Interactive installation and Automated Installation. The interactive option is the standard route, but more advanced users can use the automated installation option to import a configuration file from a web server to standardize multiple installs and add further customizations.
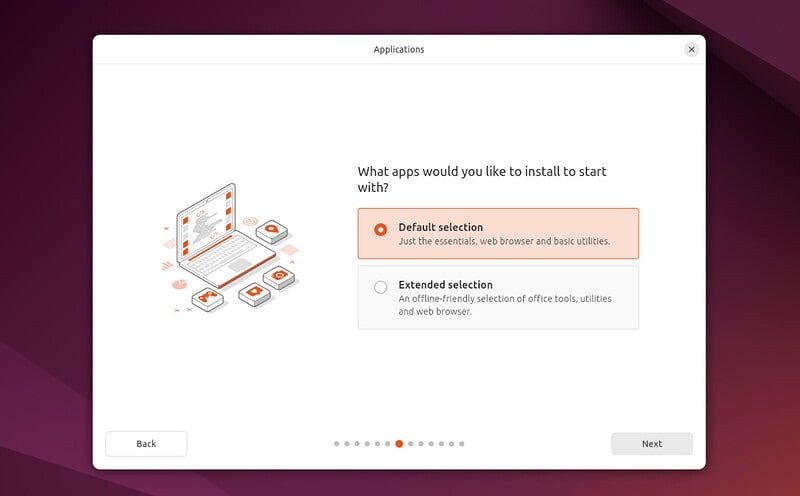
You will be asked to choose between Default Selection and Extended Selection options. The default installation comes with the basics to get you started, which you can then expand upon installation using the App Center. The expanded selection contains additional office tools and utilities useful for offline situations.
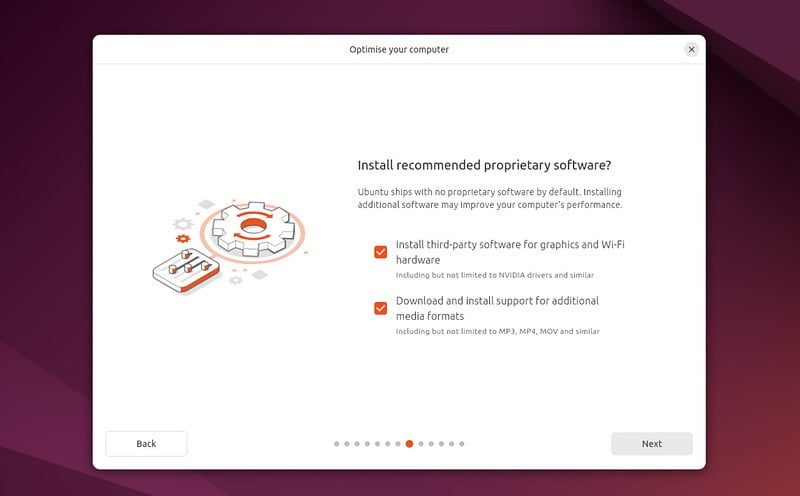
In the following screen you will be prompted to install third-party software that may improve device support and performance (for example, Nvidia graphics drivers) and support for additional media formats. It is recommended to check both of these boxes.
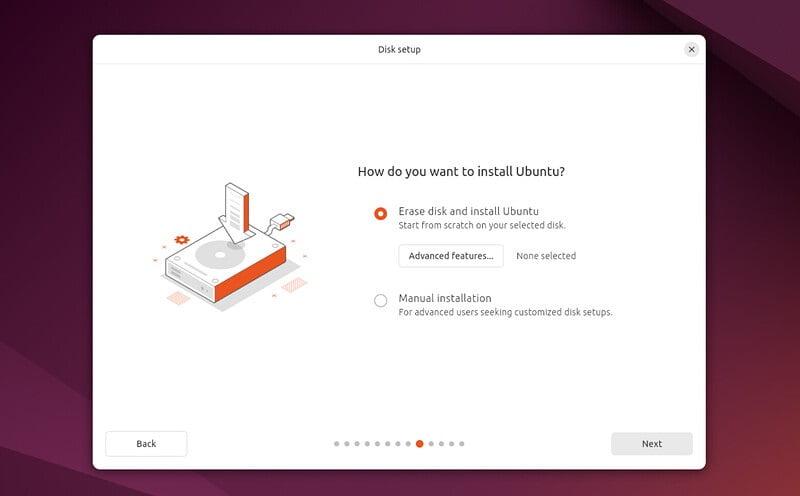
Type of installation
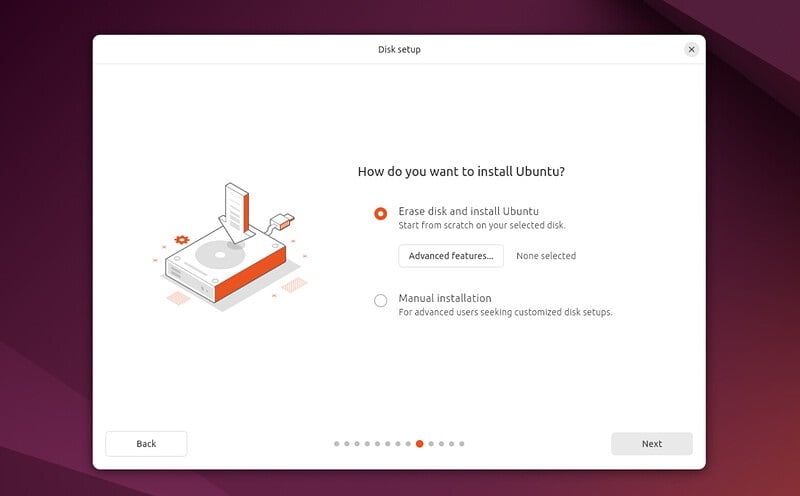
This screen allows you to configure your installation. If you would like Ubuntu to be the only operating system on your hard drive, select Erase disk and install Ubuntu.
If your device currently has another operating system installed, you will receive additional options to install Ubuntu alongside that OS rather than replacing it.
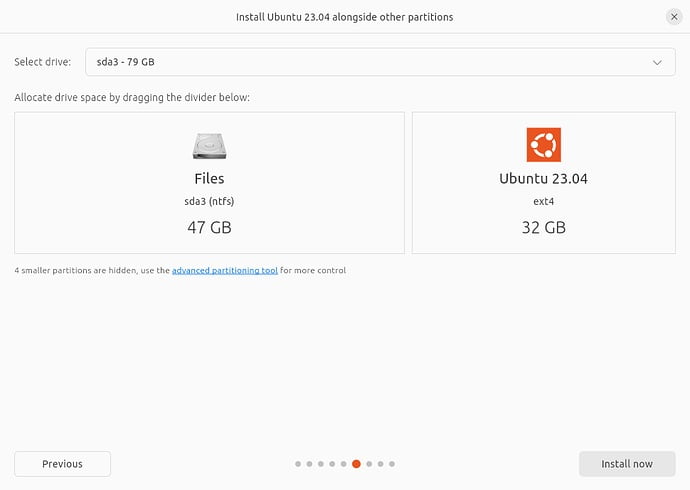
Installing Ubuntu alongside another operating system
If you select this option you will be given a simple interface that allows you to select the drive you want to install Ubuntu on and a slider to determine the amount of disk space you would like Ubuntu to use. The available space is limited by the existing contents of the disk and is designed to avoid overwriting existing files.
This view automatically selects the largest partition on the drive. For more fine-grained control you can switch to the Manual partitioning option that is detailed further down.
Erase disk and install Ubuntu
If you select this option Ubuntu will take up the entire disk space on the selected drive.
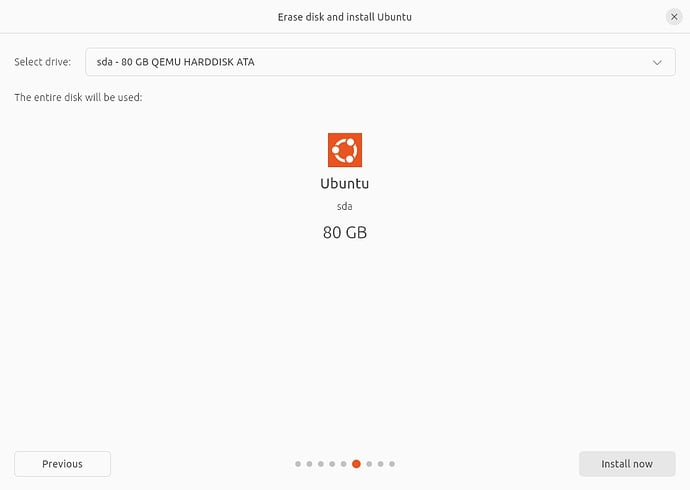
If your PC has multiple hard drives then this option allows you to install Ubuntu alongside an existing OS as long as they each have their own drive. Take care to ensure that you are selecting the right drive in this instance!
This option also allows you to encrypt your entire drive using LVM, ZFS or using the Trusted Platform Module on the device. To do this open the Advanced features option before proceeding to the above screen and select ‘Encrypt the new Ubuntu installation for security’
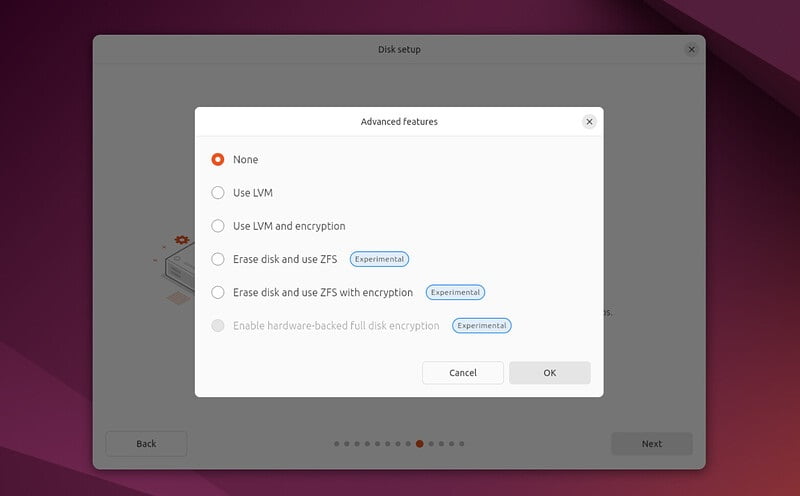
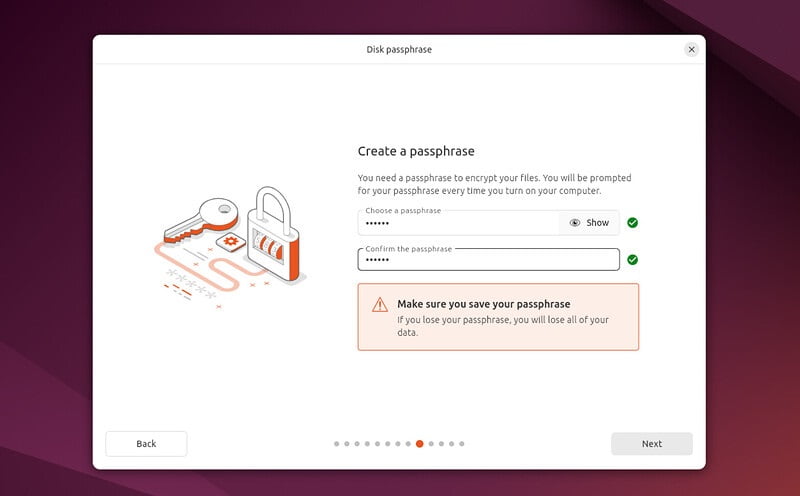
If you select either LVM or ZFS based encryption you will be prompted to create a Security key that you will need to enter on boot before logging in with your user credentials.
If you are using TPM-based Full Disc Encryption you will be prompted to run the command snap recovery –show-keys after installing to generate a recovery key.
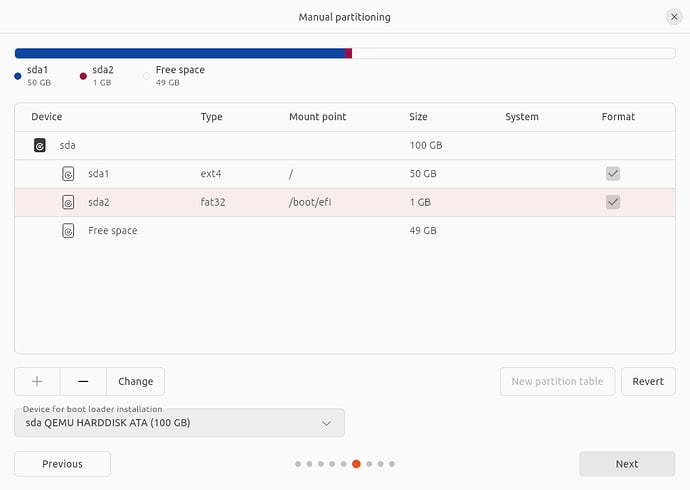
Manual partitioning
Manual partitioning is designed for advanced users who want to create specific configurations for their use-cases. As such we assume that these users will be comfortable with this interface and will not go into detail during this tutorial on specific setups.
Here users can see all existing drives and partitions and create and manage new partition tables and configurations.
Create Your Login Details
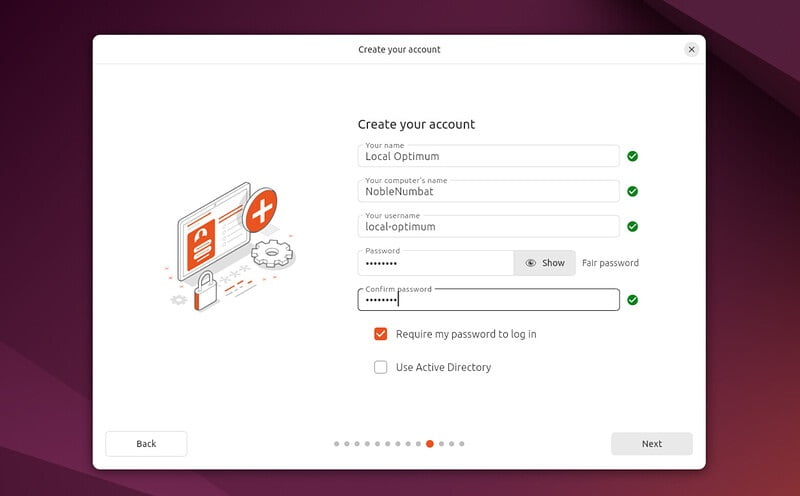
On this screen, you will be prompted to enter your name and the name of your computer as it will appear on the network. Finally, you will create a username and a strong password.
You can choose to log in automatically or require a password. If you are using your device whilst travelling, it’s recommended to keep “Require my password to log in” enabled.
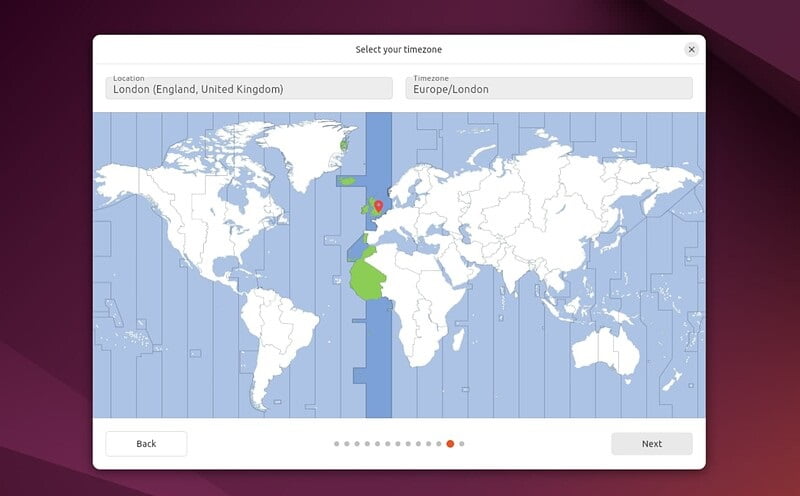
Choose your Location
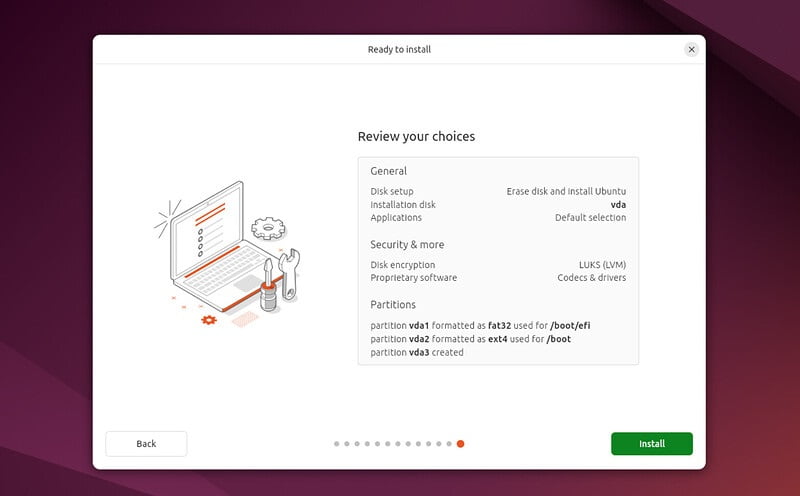
Ready to install
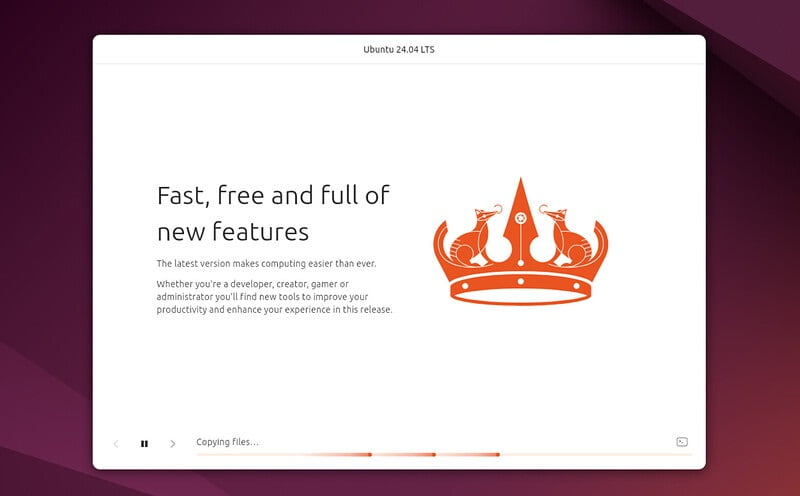
Complete the Installation
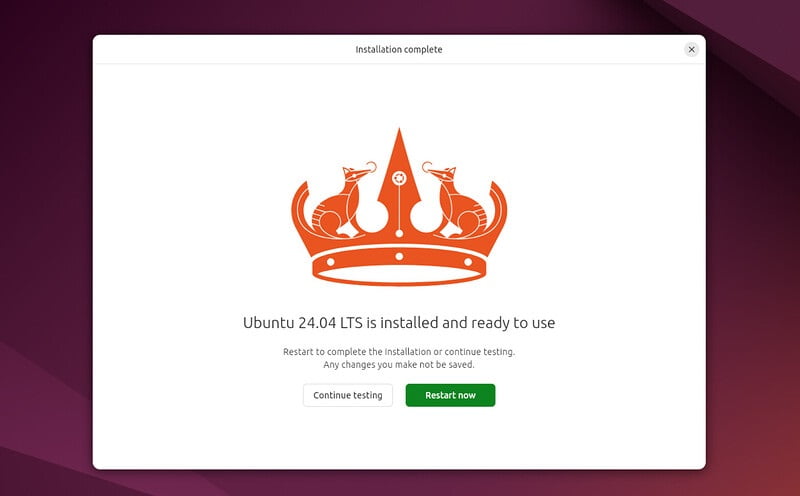
Restart Now
Enter your encryption password if you created one.

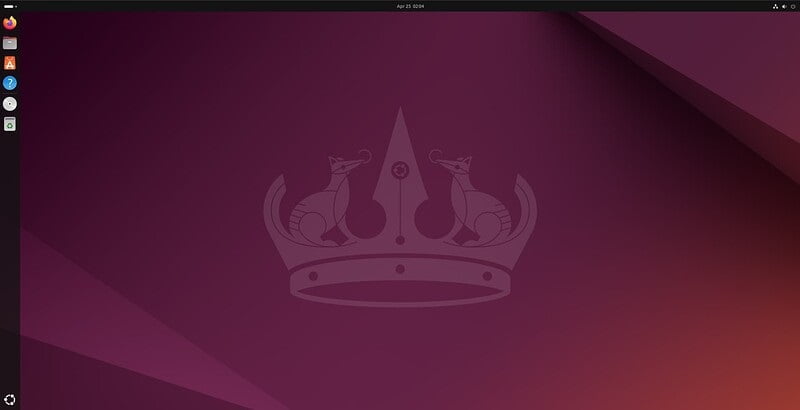
Congratulations, we have already finished the installation, let is not forget to update the system if it asks us to. Configure the system to your liking, enjoy this incredible Ubuntu operating system.




Leave a Reply