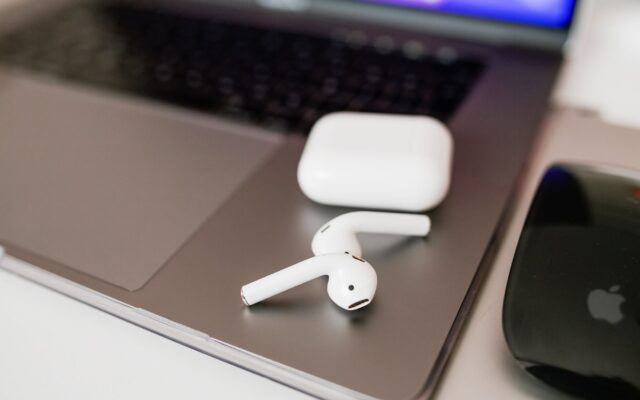
This guide is for anyone who wants to update AirPods firmware to get the latest bug fixes and features, whether you own AirPods, AirPods Pro, or AirPods Max. By the end, you’ll know how to check your current firmware version, trigger the automatic update process correctly, and reset your AirPods if the update refuses to install.
You don’t install AirPods firmware the way you update an iPhone. Apple says updates are delivered automatically while your AirPods are charging and in Bluetooth range of an iPhone, iPad, or Mac that’s connected to Wi-Fi. If yours are behind, the steps below set up those conditions so the update can install. Apple lists the latest version for each model on its AirPods firmware page.
Before you start
- An iPhone, iPad, or Mac running the latest version of iOS, iPadOS, or macOS.
- Bluetooth turned on and your AirPods already paired and connected to that device.
- An active Wi-Fi connection on your iPhone, iPad, or Mac (the AirPods themselves don’t connect to Wi-Fi directly, but the update is delivered through your companion device).
- A charging cable or charging case with enough power to keep your AirPods charging for at least 30 minutes.
Step 1: Check your current firmware version
On iPhone or iPad
- Make sure your iPhone or iPad is running the latest version of iOS or iPadOS.
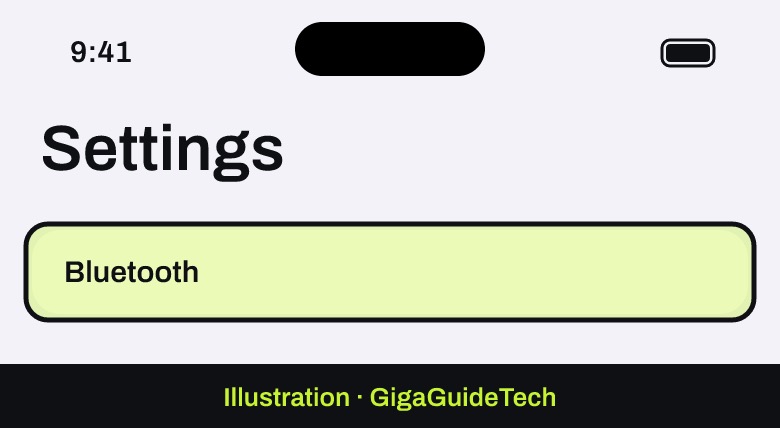
- Open Settings, then tap Bluetooth.

Illustration: Settings > Bluetooth - Tap the Info button next to the name of your AirPods.
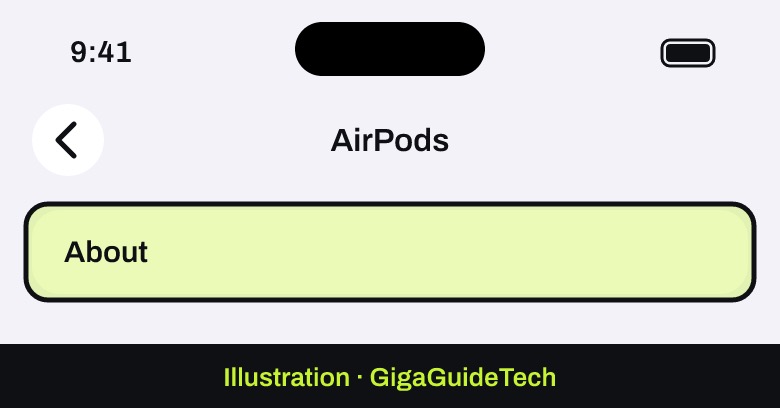
- Scroll down to the About section to see the firmware version.
Illustration: AirPods > About
On Mac
- Click the Apple menu in the corner of your screen and choose System Settings.
- Click Bluetooth.
- Click the Info button next to the name of your AirPods to view the firmware version.
If you don’t have an Apple device nearby, you can also book an appointment at an Apple Store or an Apple Authorized Service Provider to have the firmware checked and updated for you.
Step 2: Update AirPods or AirPods Pro
This covers all AirPods generations and every AirPods Pro model, including the newest AirPods 5 and AirPods Pro 3. If you’re deciding whether it’s worth upgrading hardware instead of just chasing a firmware update, our AirPods 5 vs AirPods 4 comparison breaks down what actually changed between generations.
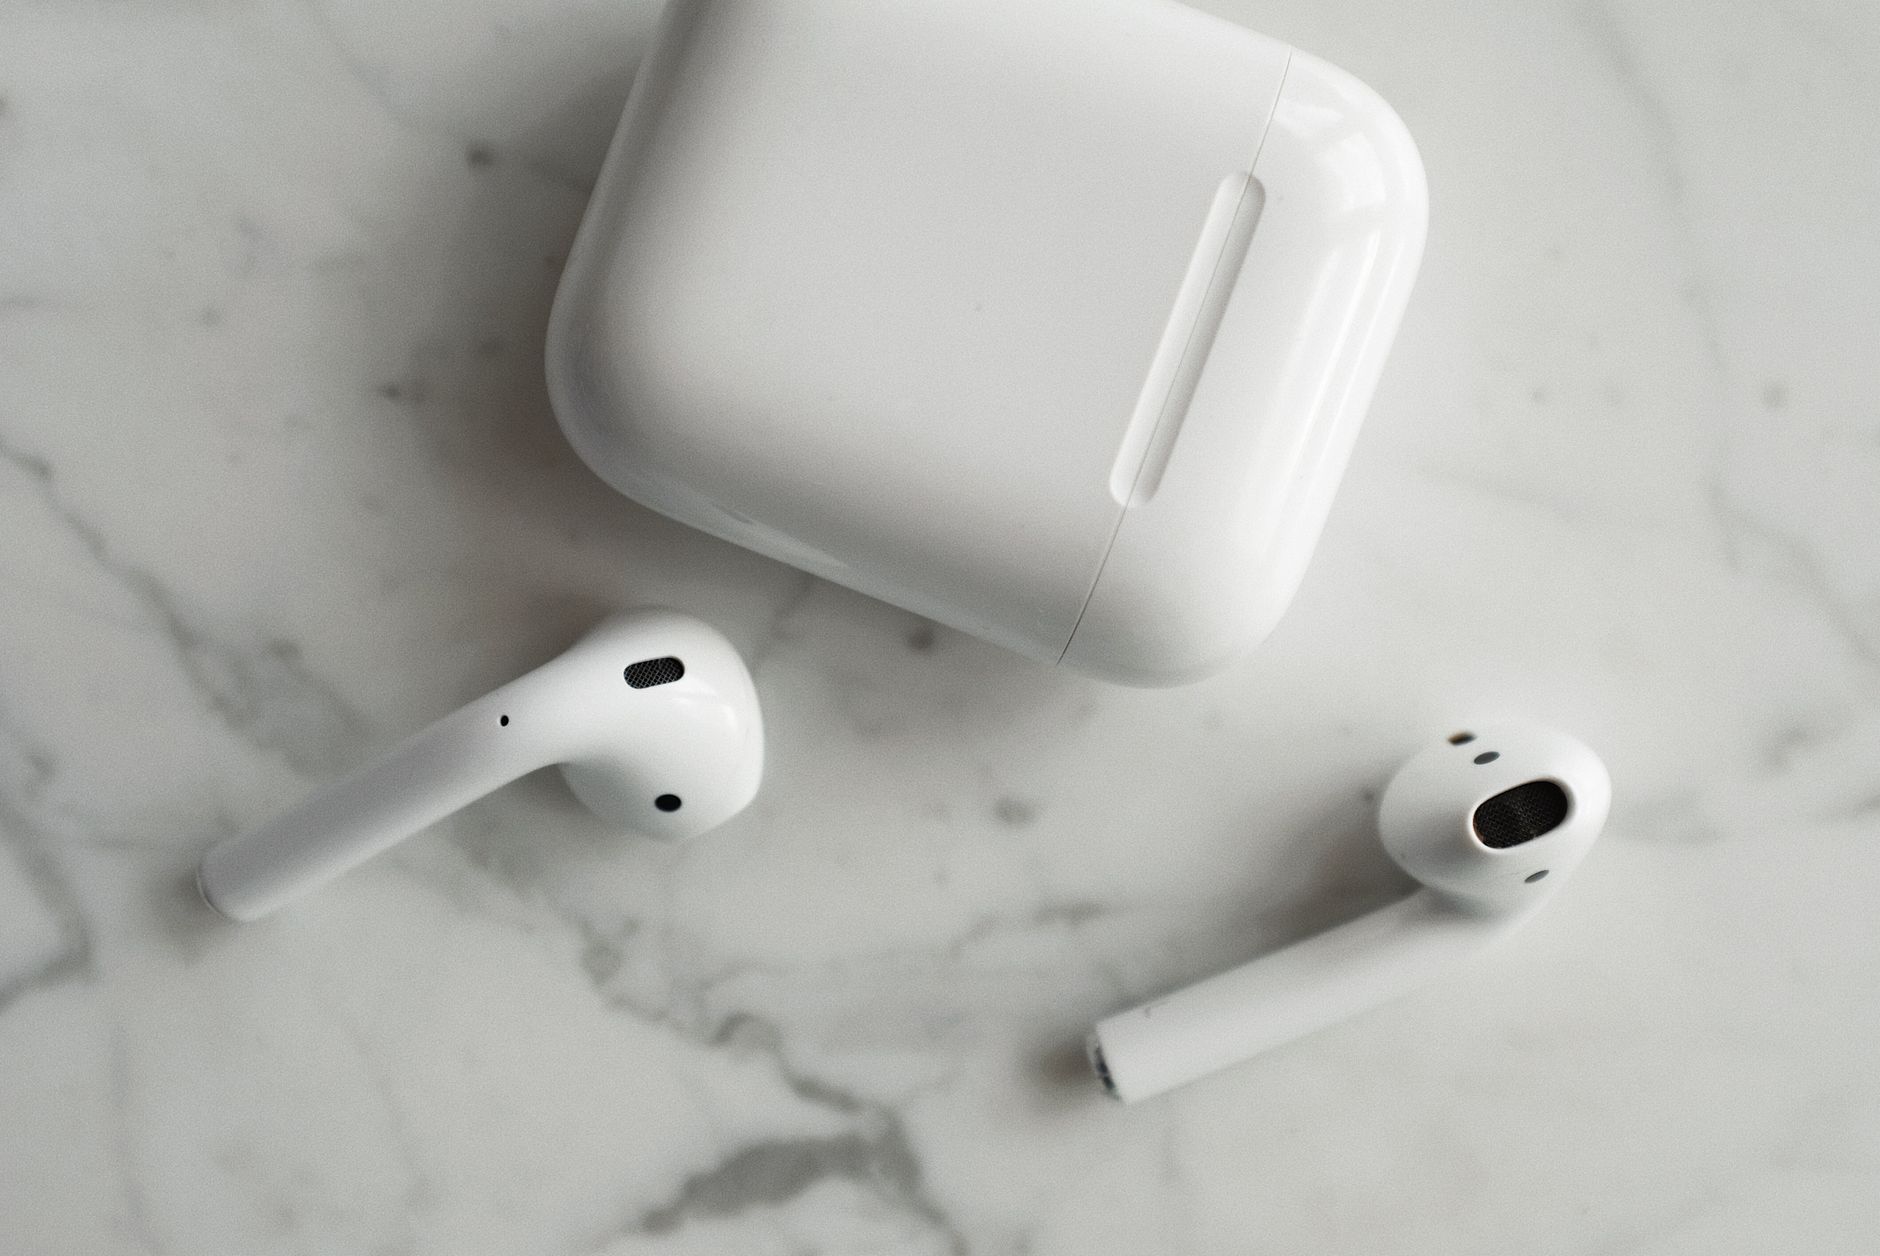
- Make sure your AirPods are connected via Bluetooth to your iPhone, iPad, or Mac.
- Connect that iPhone, iPad, or Mac to Wi-Fi.
- Connect your charging case to power.
- Put your AirPods in the charging case and close the lid, keeping them in Bluetooth range of your iPhone, iPad, or Mac.
- Wait at least 30 minutes for the firmware to update. Keep the lid closed during this time.
- Open the lid to reconnect your AirPods to your device.
- Check the firmware version again using the steps in Step 1 to confirm it updated.
Step 3: Update AirPods Max
AirPods Max don’t use a charging case, so the process is slightly different.
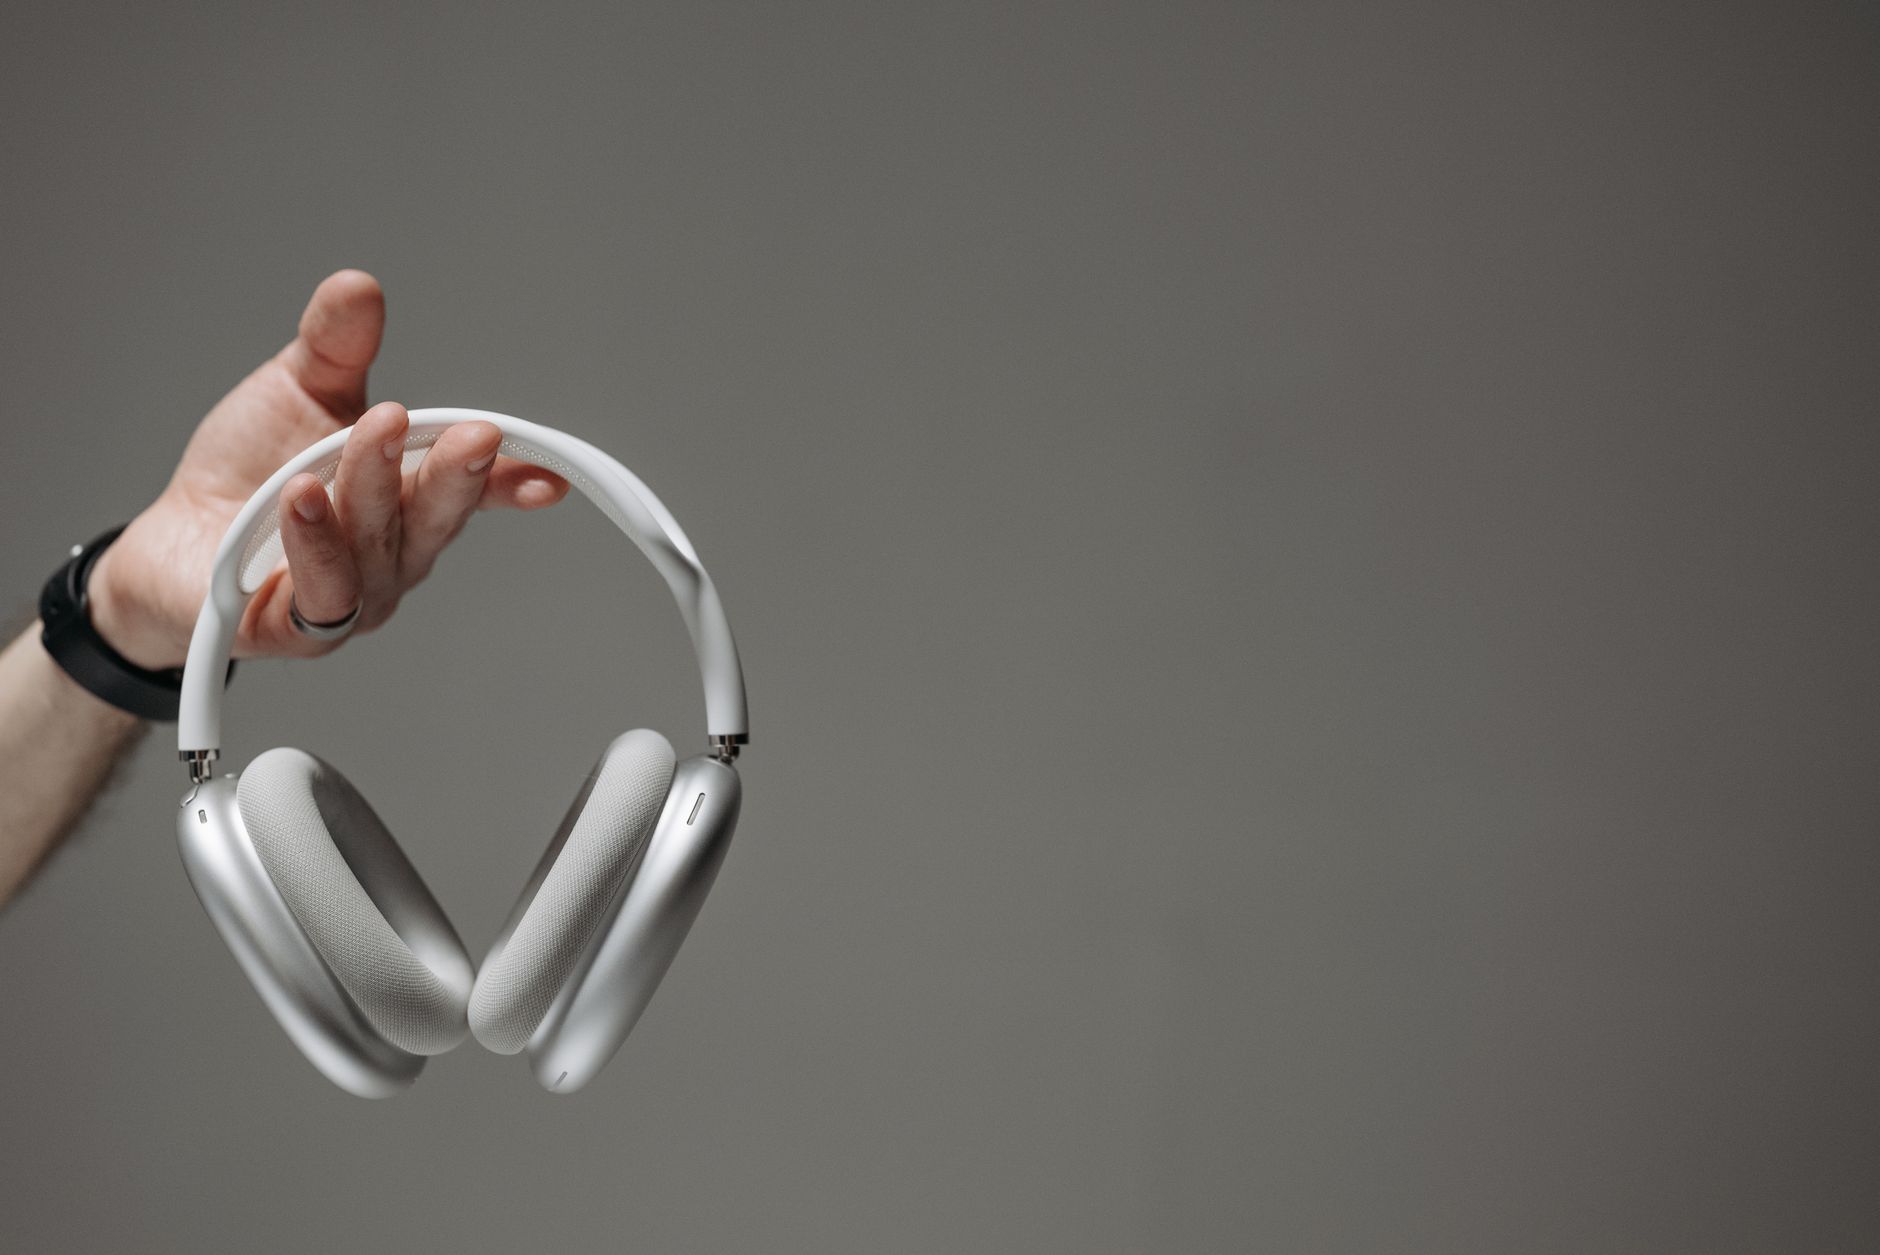
- Make sure your AirPods Max are connected via Bluetooth to your iPhone, iPad, or Mac.
- Connect that device to Wi-Fi.
- Plug the charging cable into the bottom-right earphone, then plug the other end into a USB charger or port.
- Keep your AirPods Max in Bluetooth range of your iPhone, iPad, or Mac and wait at least 30 minutes for the firmware to update.
- Reconnect your AirPods Max to your device.
- Check the firmware version again to confirm the update installed.
If it still doesn’t work
If the firmware version hasn’t changed after following the steps above, Apple’s official fix is to reset your AirPods and try again.
Reset AirPods 1, 2 or 3, or AirPods Pro 1 or 2
- Put your AirPods in their charging case, close the lid, and wait 30 seconds.
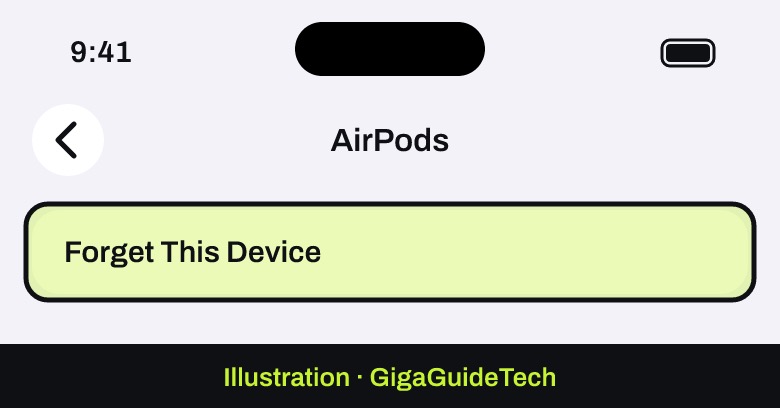
- On an iPhone or iPad paired with your AirPods, go to Settings > Bluetooth. If your AirPods appear under My Devices, tap the More Info button next to them, tap Forget This Device, then tap again to confirm.
Illustration: AirPods > Forget This Device - Open the lid of the charging case.
- Press and hold the setup button on the back of the case for about 15 seconds, until the status light on the front flashes amber, then white.
- Follow the steps on your device’s screen to reconnect your AirPods.
Reset AirPods 4, AirPods 5 or AirPods Pro 3
- Do steps 1 to 3 above: close the lid for 30 seconds, forget the AirPods in Bluetooth settings, then open the lid.
- Double-tap the front of the case while the status light is on.
- Double-tap again when the light flashes white, then a third time when it flashes faster.
- When the light flashes amber, then white, follow the steps on your device’s screen to reconnect your AirPods.
Reset AirPods Max
Charge your AirPods Max to at least 50 percent first. Then press and hold the listening mode button and the Digital Crown for 15 seconds, until the LED flashes amber, then white. After the reset, connect them to your iPhone, iPad, or Mac again. Apple notes that holding both buttons only until the LED flashes amber restarts them instead.
Before assuming a reset is needed, double-check the basics: your companion device is on the latest OS, Wi-Fi is actually connected (not just Bluetooth), your AirPods have enough charge to last the full 30 minutes, and they’ve stayed within Bluetooth range the whole time. If your AirPods won’t charge at all, fix that first: our guide on fixing AirPods that won’t charge in the case walks through the usual causes.
FAQ
Do I need to manually tap an update button?
No, there’s no install button. Apple says updates are delivered automatically while your AirPods are charging and in Bluetooth range of an iPhone, iPad, or Mac connected to Wi-Fi. The steps above make sure those conditions are met.
How do I know if the firmware update actually failed?
Apple doesn’t specify an exact cutoff for when to consider an update “failed,” it only says to wait at least 30 minutes. If the version number in Settings > Bluetooth hasn’t changed after waiting well past 30 minutes with all the requirements met, treat it as stalled and move on to resetting your AirPods.
Why do my AirPods run out of battery so fast?
That’s a separate problem from firmware. See our guide on why AirPods battery drains fast and how to fix it.
The bottom line
Updating AirPods firmware isn’t something you actively trigger, it’s something you enable by getting the conditions right: a charged case or earphone, a nearby companion device on Wi-Fi, and 30 uninterrupted minutes. If an update still won’t take after checking all of that, a reset is the next official step. Keep in mind that a reset unpairs your AirPods, so you’ll need to connect them again afterward.
Source: Apple Support: update AirPods firmware, reset AirPods, reset AirPods Max
Where to buy
- Apple USB-C Charge Cable: check price on Amazon
- Apple 20W USB-C Power Adapter: check price on Amazon
- Apple AirPods Pro 2 Charging Case: check price on Amazon
As an Amazon Associate I earn from qualifying purchases.