This guide is for anyone who just picked up a new iPhone and wants their old apps, photos, messages, and settings waiting for them when it turns on. Whether your old device is nearby, locked away in a drawer, or you’d rather use a computer, there’s an official way to transfer data to a new iPhone without typing everything in again. By the end, your new phone should look and feel like your old one, minus a handful of settings Apple doesn’t carry over automatically.
Before you start
- Make sure both devices are updated to the latest version of iOS (for the wireless Quick Start method, your old device needs at least iOS 11; some nearby-transfer features require iOS 17.2 or later).
- Have your Apple Account password ready — you’ll need to sign in during setup.
- Make sure you have a backup of your old device before you start, just in case something interrupts the process.
- Keep both devices connected to Wi-Fi, with Bluetooth turned on, and plugged into power for as long as the transfer is running.
- If your new iPhone is enrolled in a school or business device program, Quick Start device-to-device transfer won’t be available to you.
- If you already tapped through setup on the new iPhone before reading this, you’ll need to erase it first (covered below) so you can start the transfer from scratch.
Method 1: Quick Start (device-to-device)
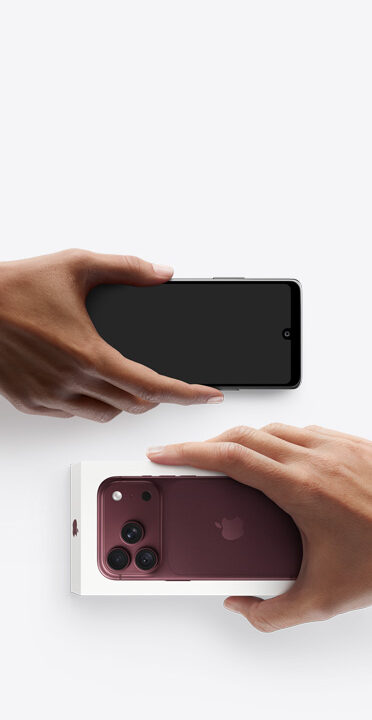
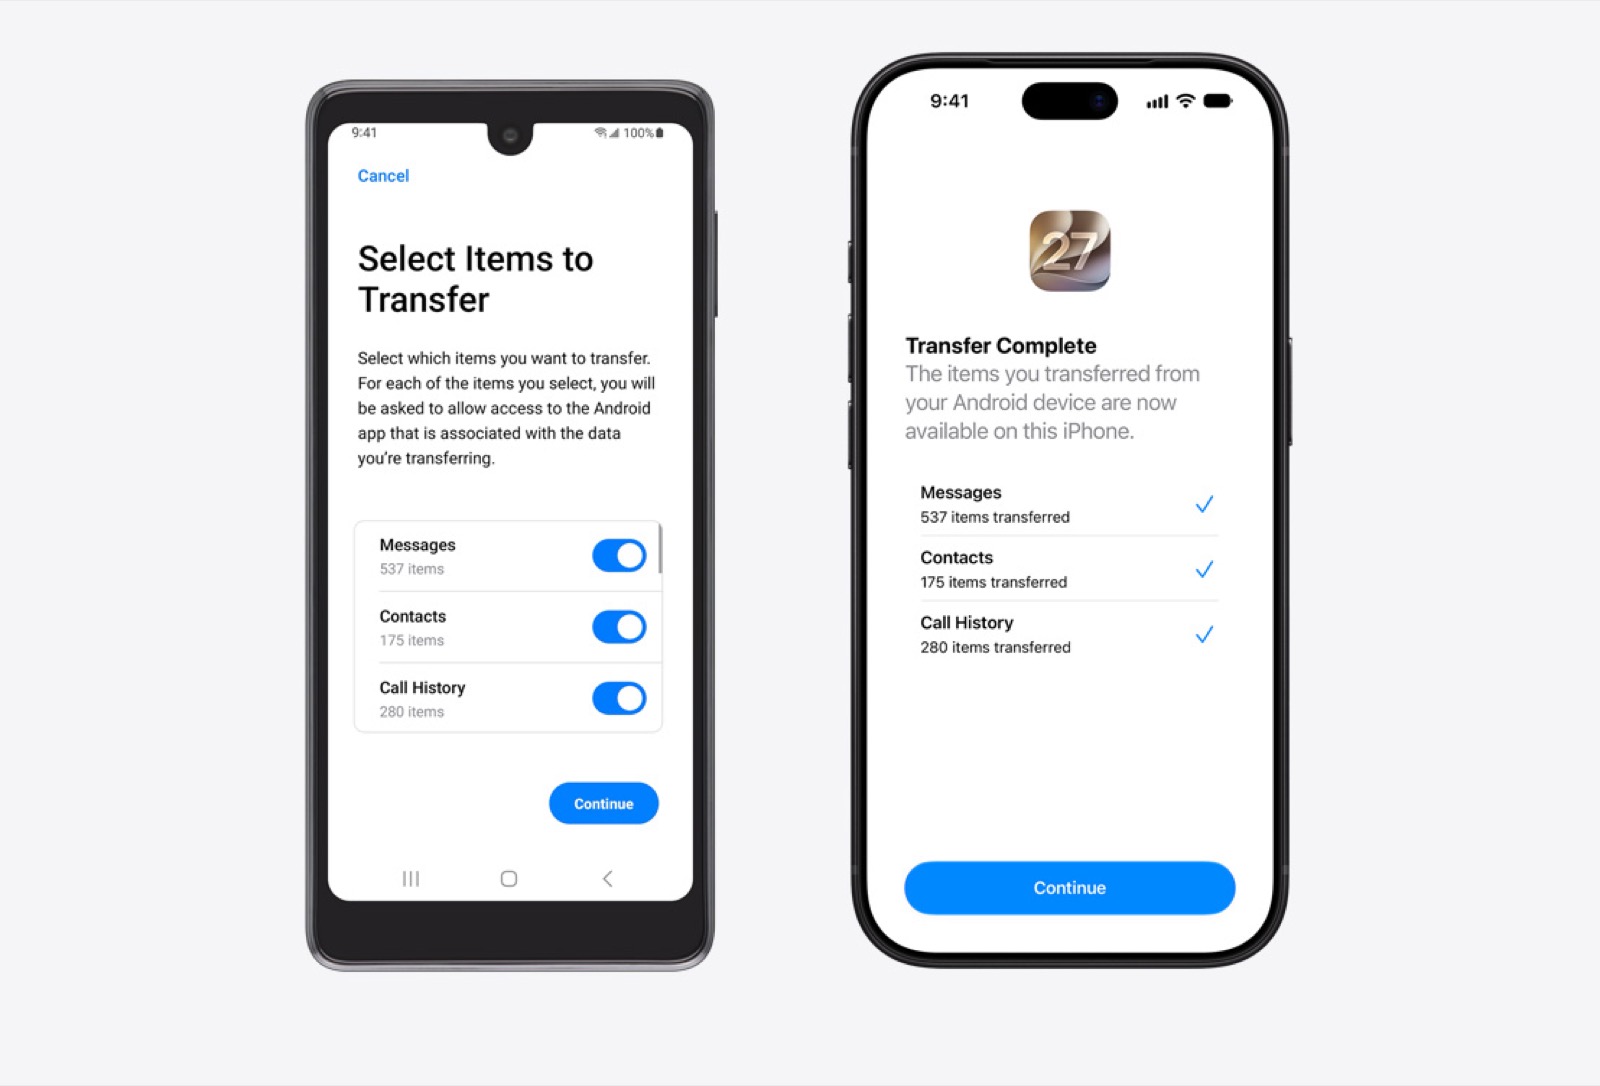
Quick Start is the fastest option if your old iPhone or iPad is in the room with you. It uses Bluetooth and Wi-Fi to walk both devices through setup together.
- On your current device, confirm you’re connected to Wi-Fi and that Bluetooth is turned on, then unlock it and go to the Home Screen.
- Turn on your new device and place it near your current one. Follow the on-screen instructions that appear.
- If the setup prompt disappears from your current device, restart both devices and try again.
- Connect your new device to Wi-Fi or your cellular network when prompted.
- You may be asked to activate your cellular service.
- Set up Face ID or Touch ID on the new device.
- Choose how you want your data to arrive: downloading from iCloud lets you start using the new iPhone right away while the rest loads in the background, while a direct transfer from your old device means waiting for both phones to finish before using either one.
- Keep both devices near each other and plugged into power until the migration finishes. How long this takes depends on your network and how much data you’re moving.
Method 2: Restore from an iCloud backup
If your old iPhone is still with you (iOS 17.2 or later)
This newer option lets you scan your old device during setup instead of waiting for a cloud restore.
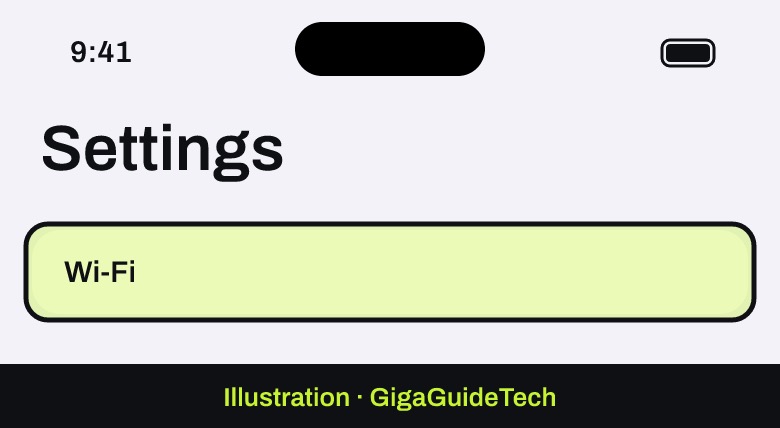
- On your old device, go to Settings > Wi-Fi and confirm you’re connected to a network.

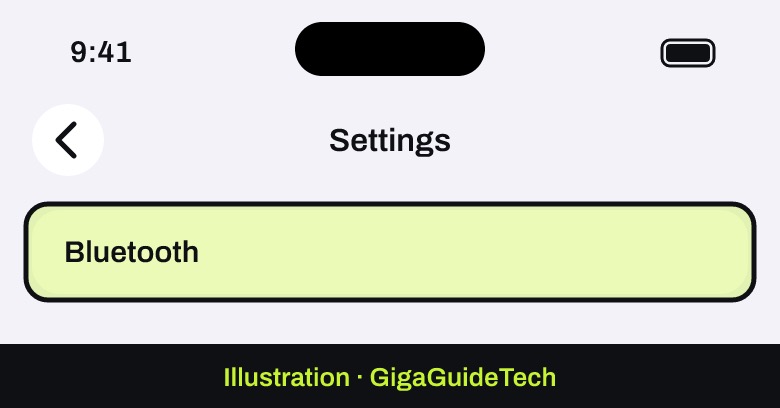
Illustration: Settings > Wi-Fi - Go to Settings > Bluetooth and turn Bluetooth on.
Illustration: Settings > Bluetooth - Plug both devices into power before you begin.
- Turn on your new iPhone, follow the prompts on the “Hello” screen until Quick Start appears.
- Hold your old device next to the new one and follow the prompt to scan the animation with its camera.
- On the new device, enter the passcode from your old device when asked.
- When you reach the Transfer Your Data screen, tap Download from iCloud.
If your old iPhone isn’t available anymore
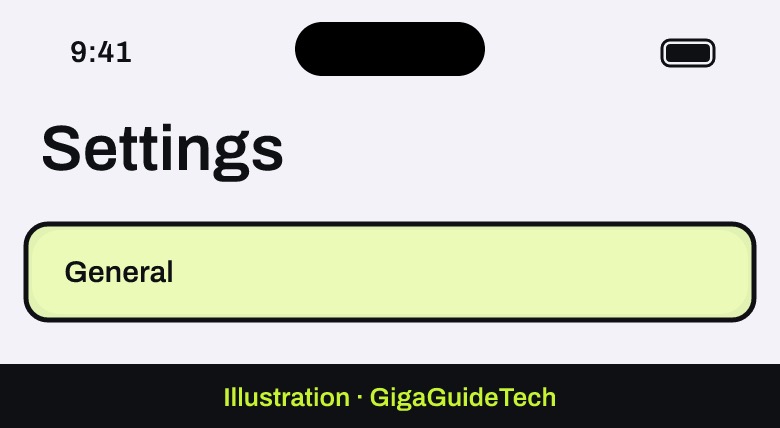
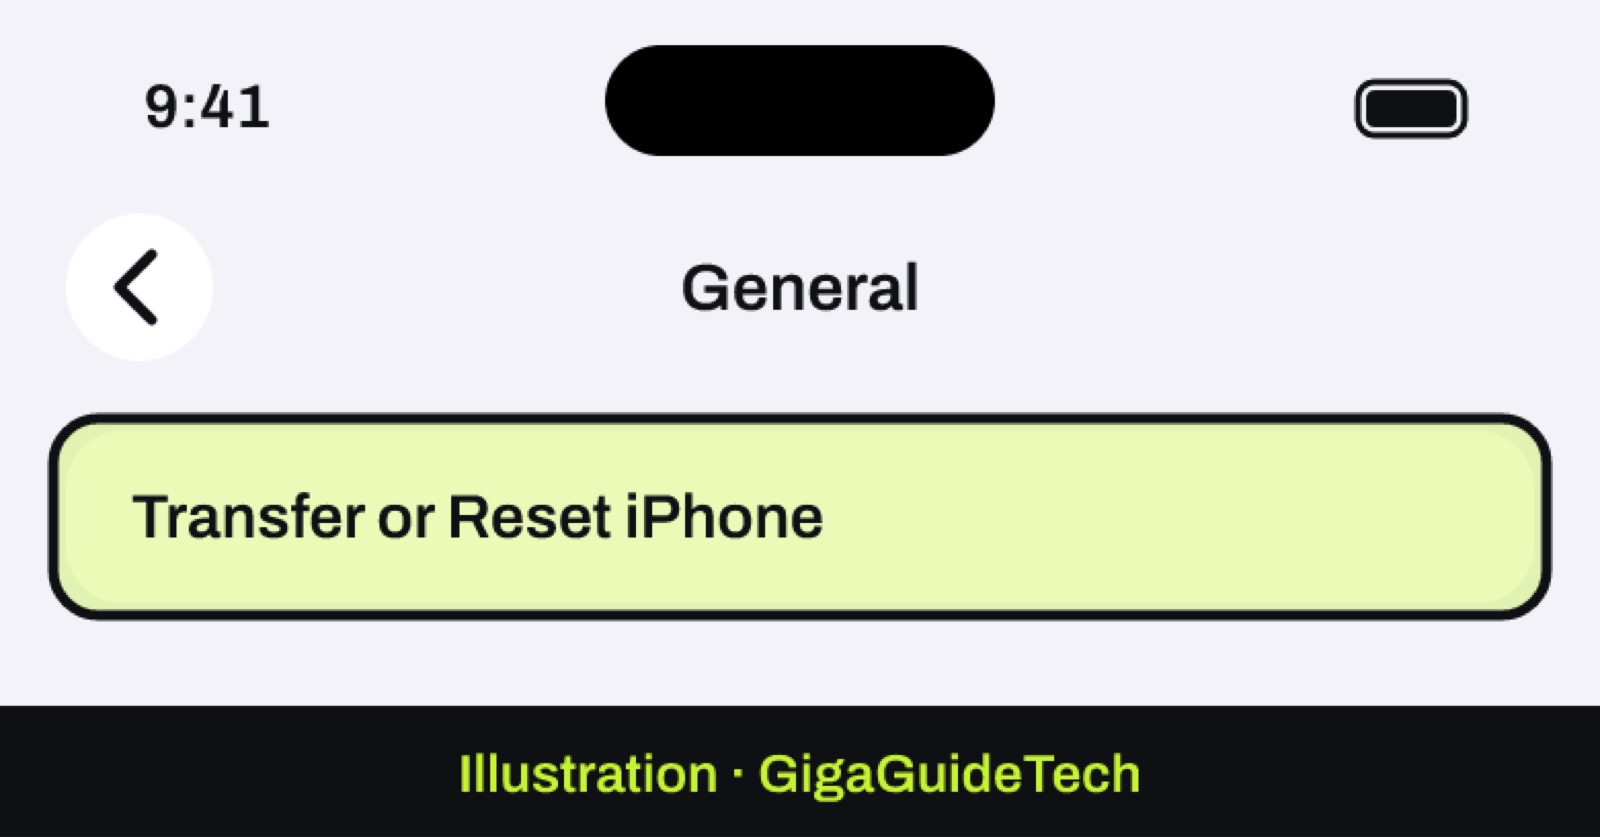
Do this on the old device before you lose access to it. Go to Settings > General > Transfer or Reset iPhone, then under “Prepare for New iPhone” tap Get Started. If iCloud Backup is off, tap Turn On Backup to Transfer. Apple may offer free temporary extra iCloud storage for this backup — tap Continue if so. You’ll have 21 days to restore that temporary backup to your new iPhone before it’s deleted; if the new phone hasn’t arrived yet, open Settings and tap Keep My Backup Longer for another 21 days.
Then, on the new iPhone:
- Join a Wi-Fi network when prompted, then continue until you reach the Apps & Data screen and tap Restore from iCloud Backup.
- Sign in with your Apple Account.
- Pick the correct backup, checking the date and size to confirm it’s the right one.
- If you bought content with more than one Apple Account, sign in to each — or tap “Don’t have an Apple Account or forgot it” to skip.
- Stay connected while the restore finishes, then complete the rest of setup. Keeping the phone on Wi-Fi and power afterward lets photos, music, and apps stored in iCloud keep downloading in the background.
Method 3: Restore from a Mac or PC backup
If you’d rather back up to a computer, the tool you use depends on your setup: the Finder on macOS Catalina or later, the Apple Devices app on a PC (or iTunes if that app isn’t available, or if your Mac runs macOS Mojave or earlier).
Create the backup on your old device first
On a Mac (Finder):
- Connect your device to the Mac with a cable.
- Open the Finder and select your device in the sidebar.
- Tap Trust on the device if asked.
- To keep Health and Activity data, select Encrypt local backup and set a password.
- Click Back Up Now.
On a Windows PC:
- Connect your device with the cable that came with it.
- Open General in Apple Devices (or Summary in iTunes for Windows).
- To keep Health and Activity data, select the Encrypt local backup checkbox and create a password — write it down, since there’s no way to recover an encrypted backup without it.
- Click Back Up Now.
Restore the backup to your new iPhone
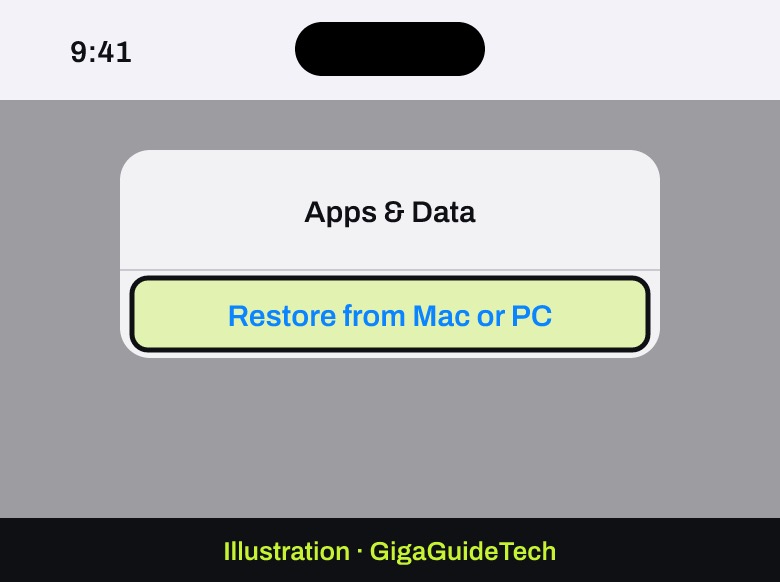
- Turn on the new iPhone and follow the setup prompts until you reach the Apps & Data screen, then tap Restore from Mac or PC.
Illustration: Apps & Data > Restore from Mac or PC - On your computer, open Apple Devices, iTunes, or Finder and select your device, trusting it if prompted.
- Select Restore Backup.
- Choose the correct backup by checking its date and size.
- Enter your password if you’re restoring an encrypted backup.
- Wait for the restore to finish, then complete setup on the iPhone. Staying on Wi-Fi and power afterward lets iCloud-stored content keep downloading.
Note that an unencrypted backup won’t include Health and Activity data from your iPhone or Apple Watch — encrypt it first if you want that data back.
If it still doesn’t work
If your new device was already set up before you started, you’ll need to erase it and begin again: go to Settings > General > Transfer or Reset iPhone > Erase All Content and Settings (on iOS 15 or later), or Settings > General > Reset > Erase All Content and Settings on older versions. You can find a full walkthrough of this process in our guide to factory resetting an iPhone. A few things to double-check if a transfer stalls or fails: both devices are on the latest iOS, Wi-Fi is stable rather than dropping in and out, both phones have reasonable battery left, and there’s enough free storage on the old device to complete a backup. Keeping devices plugged in and close together for the entire process also helps avoid interruptions.
FAQ
What doesn’t transfer automatically to a new iPhone?
Face ID and Touch ID settings, Apple Pay cards, email passwords, and Wi-Fi passwords all need to be set up again by hand. If Face ID gives you trouble after setup, see our guide on fixing Face ID that isn’t working. Content you bought directly through iTunes or synced music, videos, and photos from an older iTunes library also won’t move over the same way, though apps can usually be redownloaded.
Can I use Quick Start without an old iPhone nearby?
No — Quick Start is specifically the device-to-device method. If your old iPhone isn’t available, use the iCloud backup restore path instead, which works entirely through your Apple Account.
How long does transferring data to a new iPhone take?
Apple doesn’t publish fixed times, since it depends heavily on how much data you have and your network conditions. Keeping both devices on Wi-Fi and plugged into power throughout the process is the best way to avoid it stalling.
What if I don’t have enough iCloud storage for a backup?
When you prepare your old device for transfer, Apple may offer free temporary extra storage to hold your backup for up to 21 days (with a possible 21-day extension if your new iPhone hasn’t arrived yet). If you’d rather manage your storage permanently, check our guide on freeing up iCloud storage.
Source: Apple Support
Where to buy
- Apple USB-C to USB-C Cable (1m): check price on Amazon
- Anker Portable Power Bank: check price on Amazon
- Apple Lightning to USB-C Adapter: check price on Amazon
As an Amazon Associate I earn from qualifying purchases.