A USB microphone is the easiest upgrade you can make to a stream, podcast or video call. You plug it in and it works, with no audio interface or mixer needed. But plugging it in is only half the job: to sound clear and not too quiet, loud or noisy, you need to set it up properly in your computer and in OBS Studio, the free streaming app. This guide walks you through every step.
Step 1: Place the microphone correctly
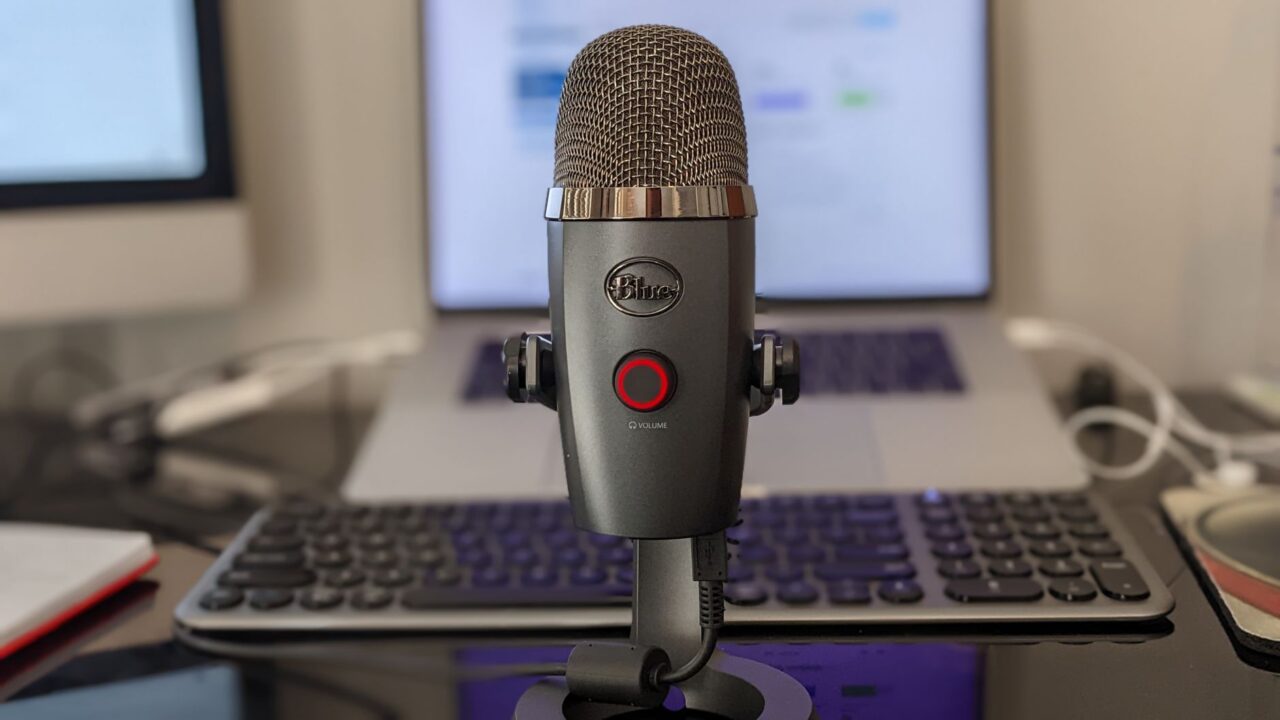
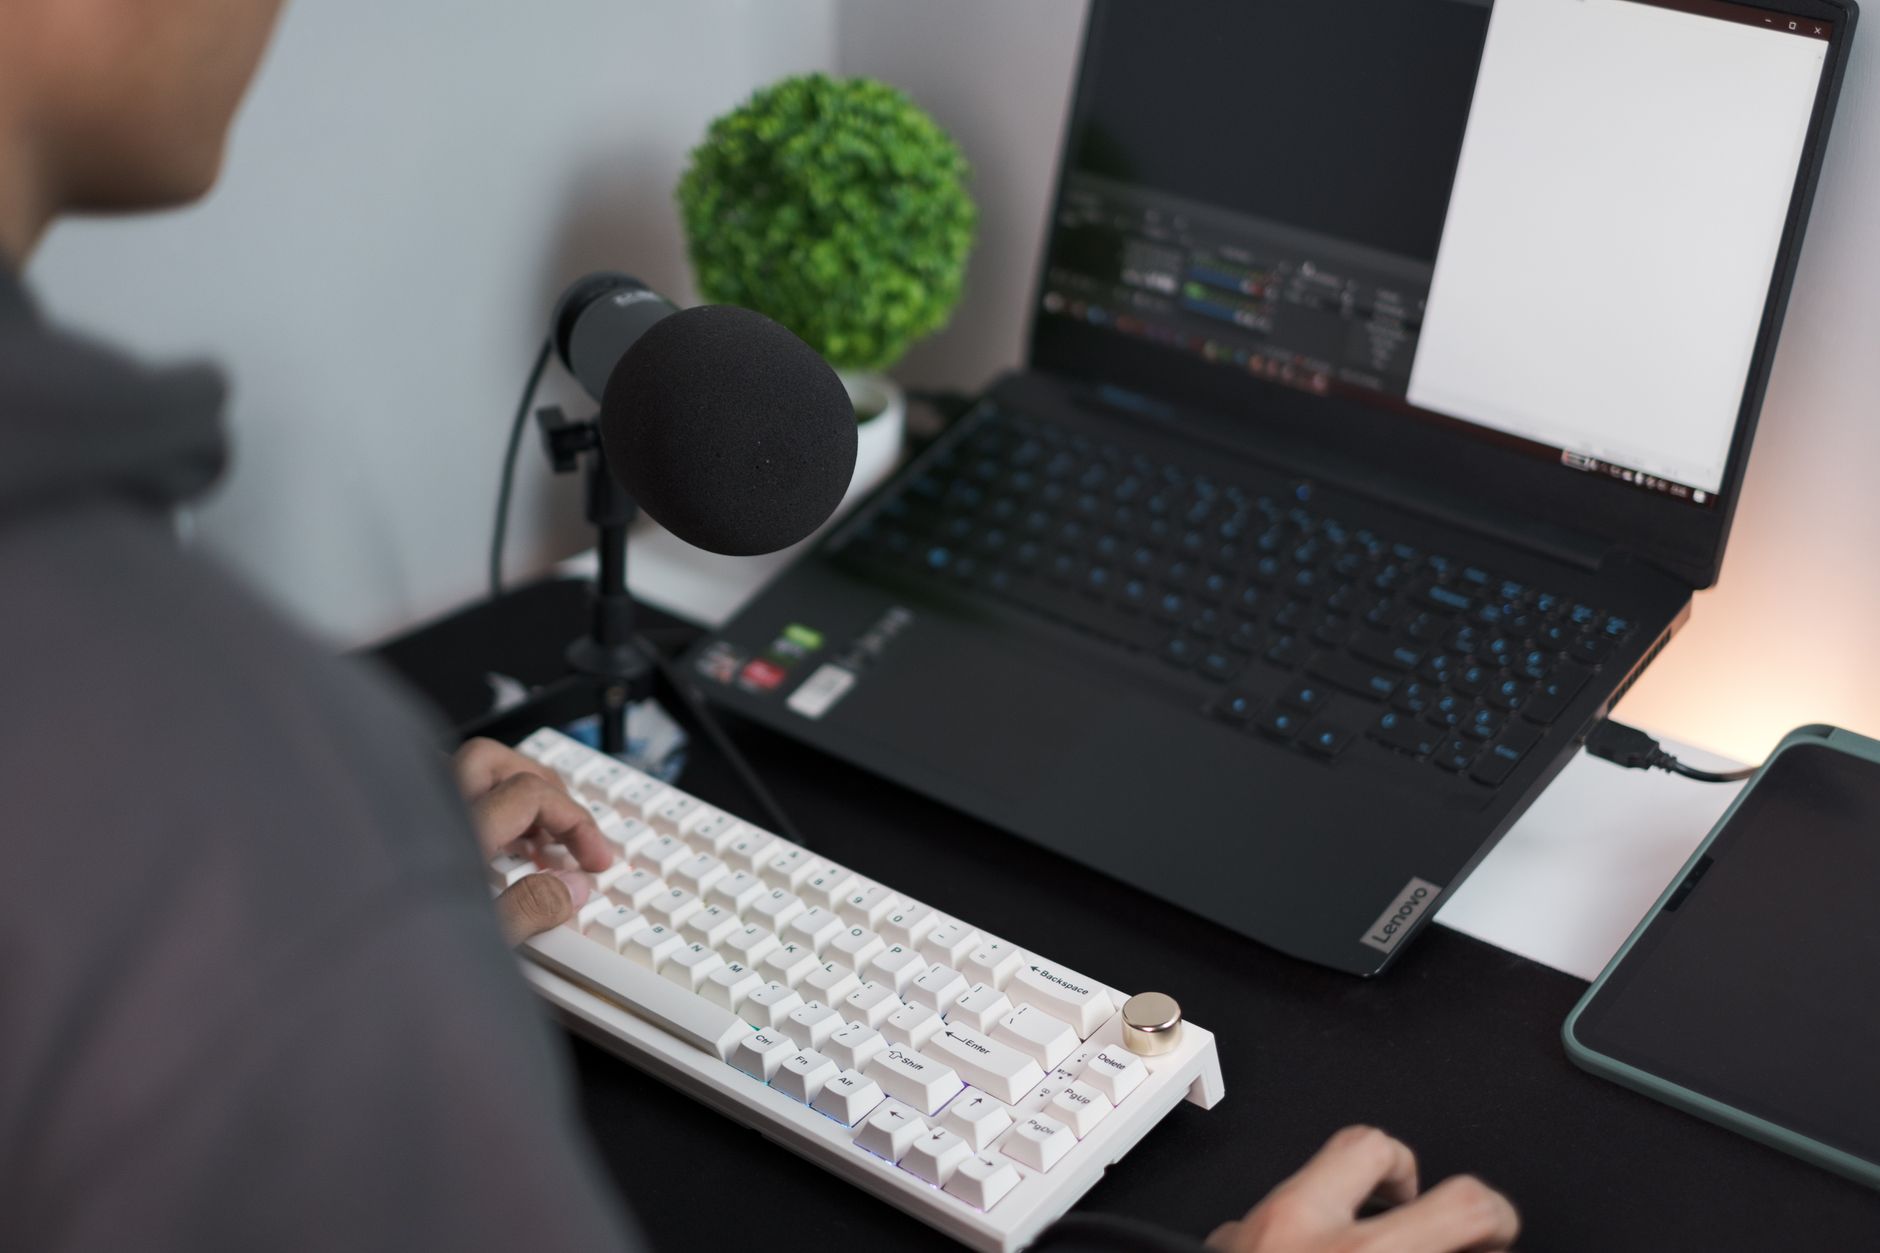
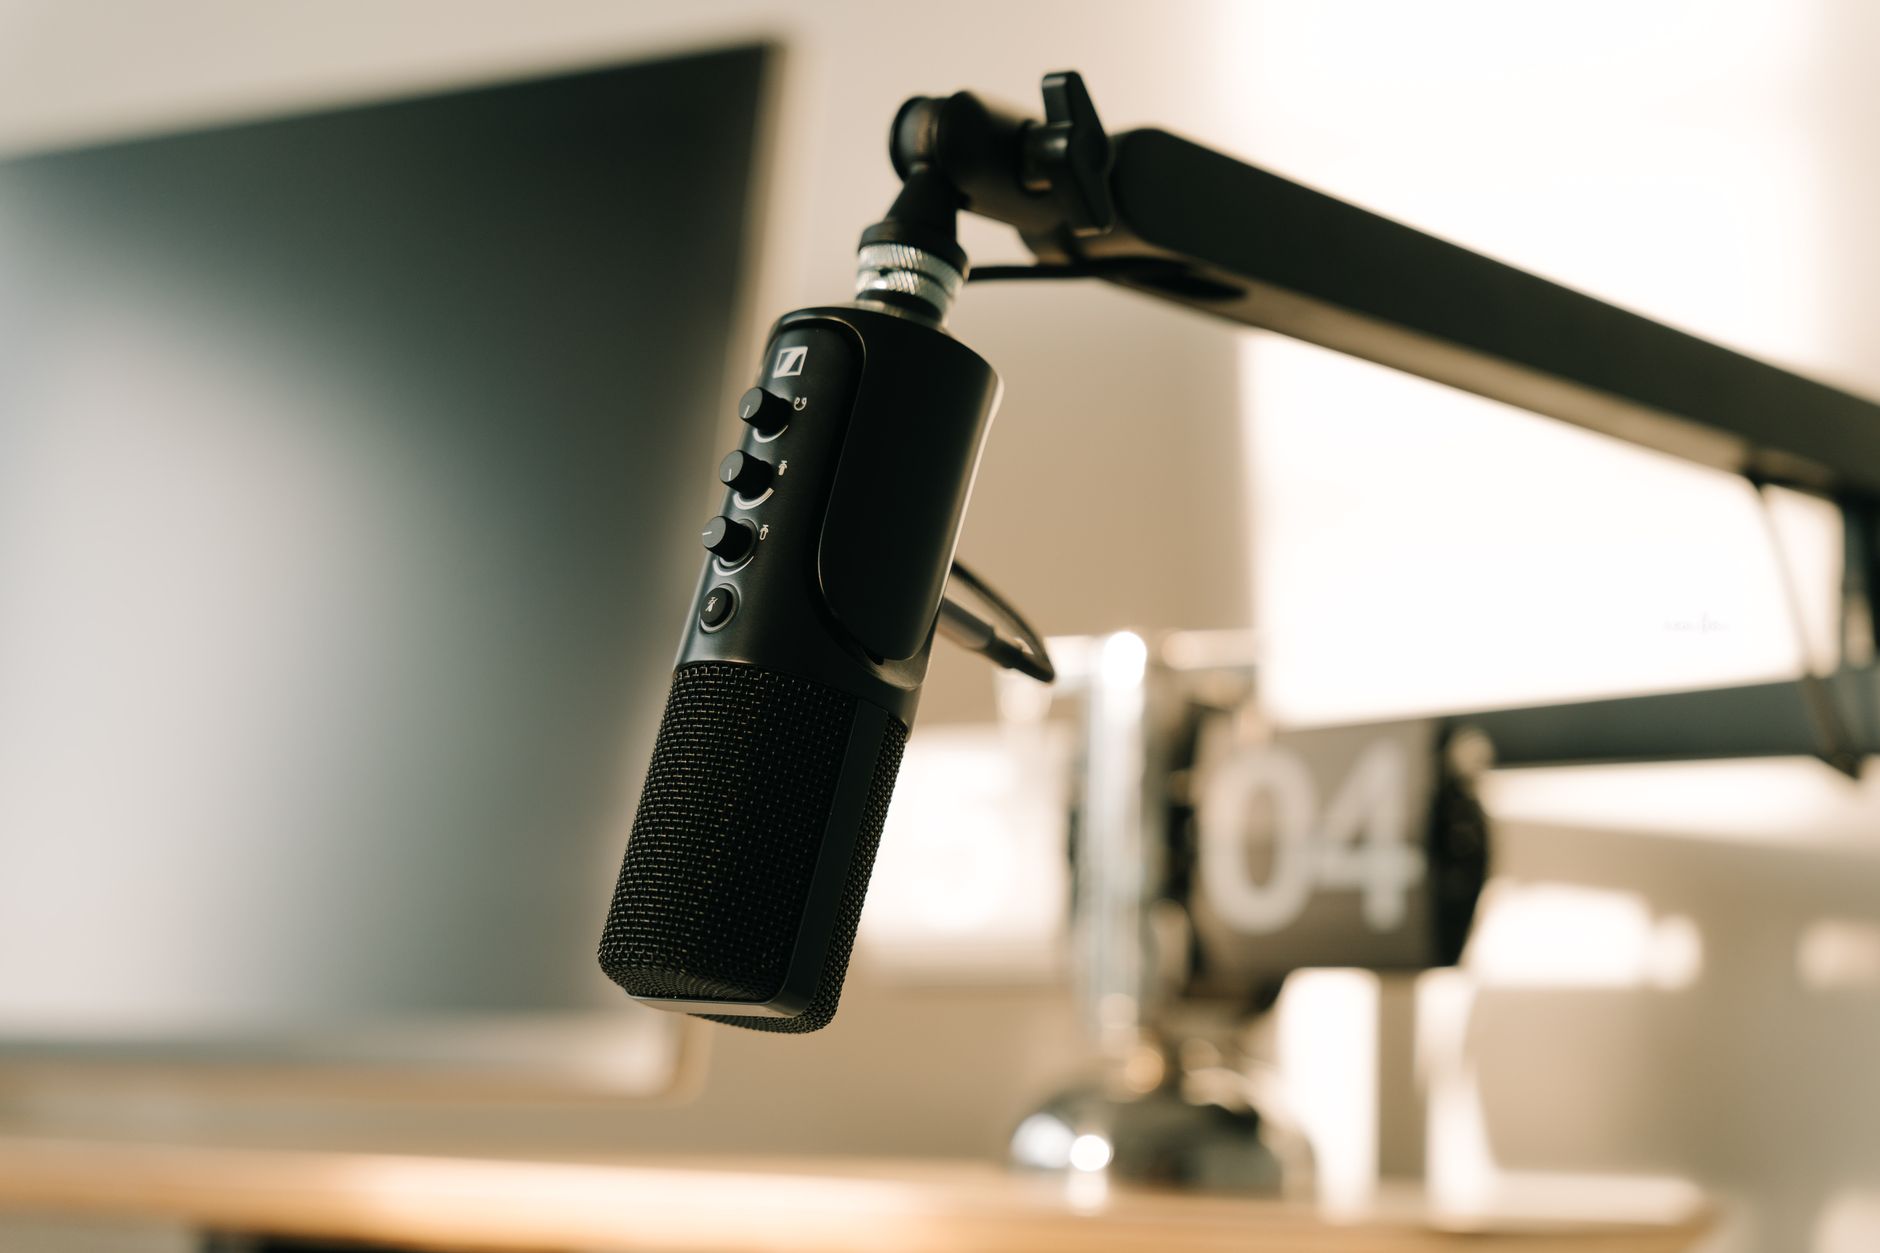
Good sound starts before any software. Put the mic close to your mouth, usually a hand’s width or two away, and keep that distance steady while you talk. Point it at your mouth, not at your keyboard or your PC’s fans. A boom arm or a short stand helps keep it in place and away from desk bumps. Many USB mics pick up sound from the side or the top, so check the manual or the markings on the mic to see which side should face you.
Step 2: Set it as your input on Windows or Mac
On Windows 11: connect the mic, then go to Start > Settings > System > Sound. Under Input, choose your USB microphone. To test it, select the arrow next to the mic to open its properties, select Start test and speak normally, then select Stop test and Play to hear yourself. Adjust the Input volume slider if needed.
On a Mac: choose Apple menu > System Settings, click Sound, then Input, and select your microphone from the list. Drag the input volume slider so your normal speaking voice registers clearly without maxing out.
If your mic isn’t detected or keeps cutting out, try a different USB port and avoid unpowered hubs. Our guide on fixing a USB device that keeps disconnecting on Windows covers the most common fixes.
Step 3: Add the mic in OBS Studio
In OBS, go to Settings > Audio and choose your USB mic as the Mic/Auxiliary Audio device. It will then appear in the Audio Mixer at the bottom of the window in every scene.
You can also add it to a single scene with an Audio Input Capture source instead. OBS warns that if you do both, selecting the same device in Settings and adding it as a source, you’ll get an echo, so pick one method.
One common gotcha: most USB mics record in mono, and OBS defaults to stereo. If only the first (left) meter moves when you talk, your viewers will hear you in just one ear. Fix it by opening Advanced Audio Properties in the Audio Mixer and turning on Downmix to Mono for your mic.
Step 4: Set the right volume using the meters
The Audio Mixer meters have three zones. According to the OBS guide:
- Yellow: your voice should sit in the upper part of this zone most of the time.
- Red: loud speech can reach the lower end of the red zone, but audio deep in the red is close to clipping, the harsh distortion you hear when a signal is too loud.
- Green: background music and alert sounds should stay here, so they don’t drown out your voice.
Set the mic’s gain or the Windows/Mac input level first, then fine-tune with the OBS fader. Talk the way you will on stream, including laughing or getting excited, and watch where the meter peaks.
Step 5: Add filters for clean, broadcast-style audio
Right-click your mic in the Audio Mixer and choose Filters. These four built-in filters make the biggest difference, added in this order:
- Noise Suppression: reduces mild, steady background noise such as PC fans. OBS notes it won’t fix a very loud room. If you install the Nvidia Broadcast SDK redistributable, an extra Nvidia Noise Removal option appears here.
- Noise Gate: mutes the mic while you’re not talking. Set the close threshold above your background noise level and the open threshold slightly below your speaking voice.
- Compressor: automatically turns down sudden loud moments, like shouting, so they don’t distort, then brings the volume back up.
- Limiter: a safety net that stops your audio from going above 0 dB. OBS recommends placing it last in the chain.
Bonus tip: the Compressor can also do ducking, lowering your game or music audio automatically whenever you speak, so viewers always hear you clearly.
Step 6: Test before you go live
Record a short clip in OBS with Start Recording, talk for a minute with your game or music running, then play it back with headphones. Listen for three things: is your voice clearly louder than the game, is there hiss or fan noise between sentences, and does anything crackle when you get loud? Adjust the filter that matches the problem and test again.
A good mic is only one part of a great streaming setup. If you’re upgrading your desk too, see our guide on how to choose a keyboard for your PC, and make sure your PC isn’t working harder than it needs to with our tips on capping your frame rate in games.
Sources: Microsoft Support: Set up and test microphones in Windows, Apple Support: Change the sound input settings on Mac, OBS Studio: Audio Sources, OBS Studio: Audio Mixer Guide, OBS Studio: Filters Guide